



How to Cook a Pork Butt Hot and Fast
Pulled pork is one of the cornerstones of traditional American barbecue, and deservedly so! Tender, smoky pulled pork is very versatile, and can be served in so many different ways. As simple as serving it straight up with a little sauce and slaw, a piled high sandwich, or sweet and spicy nachos. The only thing harder than figuring out how to serve it is waiting 12 or more hours to dig in! Life comes at you fast, and sometimes we just don’t have the extra time to accomplish that type of cook.
This guide will show you how you can still get a phenomenal finished product in about half the time. If this is your first time smoking a pork butt, please check out our Beginner's Guide to Smoking a Pork Butt for the basics before going on to the "Hot and Fast" method.
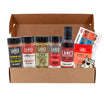
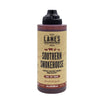
What You'll Need
Quick Pulled Pork: How to Cook a Pork Butt Hot and Fast
Using the Hot and Fast method will save you time, but there are a few differences from the traditional method that we need to pay attention to. These will help us get an end result that will be tender and juicy without risking over cooking the bark that we all strive to achieve with long cooks on the smoker.
Lower Temperature, Longer Cook
Traditional pulled pork is commonly cooked around 225–275°F and may take 8–12 hours or longer, depending on the size of the pork butt and the cooking temperature.
Higher Temperature, Shorter Cook
This method cooks at 325°F, protects the pork with its fat cap, and uses foil once the bark is set to finish the roast in about 5–7 hours.
Who is this method best for? It is a great option when you want pulled pork the same day but do not have enough time for a traditional low-and-slow cook. You will still get smoke, bark, tenderness, and plenty of pork flavor—you just need to manage the higher heat correctly.
Choosing the Right Cut
Choosing the right cut for this method is very important and will determine how the final product will come out. Ideally a bone-in pork shoulder roast, also called a pork butt or Boston butt roast with a thick fat cap is what you’ll want to find for this.
Bone-In Pork Butt
This is the ideal choice. The roast holds together well, has plenty of internal marbling, and the blade bone provides a useful doneness check when the cook is finished.
Boneless Pork Butt
If you can only find boneless roasts at your local market, make sure to pick one out with a lot of marbled fat and as much of an outer fat cap as you can find.
Picnic Roast
The other cut from the shoulder section is called a "Picnic" roast and will resemble what most will think of as a shoulder section. The ball and socket joint of the upper leg will be present and almost always come with the skin still on.
That fat is going to be the added insurance to keep it moist and juicy while cooking at a higher temperature. If a picnic roast is all you are able to get, you'll want to remove the skin layer down to the fat or ask your butcher to remove this for you.
The cooking method will work the same for both cuts.
To Trim or Not to Trim?
The first thing to do when unpackaging the roast will be to dry off any residual moisture on the outside of the roast with paper towels. The drier the outside, the easier it will be to handle and season.
Once you have a dry roast, let's consider trimming. In our beginner's guide, we suggest trimming the outer layer of fat down to help develop bark. Since we are cooking at a higher temperature, you’ll want to leave that fat cap intact as a layer of protection.
Hot-and-fast trimming is different. Do not trim the fat cap the same way you would for a traditional low-and-slow pork butt. At 325°F, that fat cap helps shield the meat from the stronger heat.
The only trimming you’ll be doing is removing any pieces of fat or meat that are loose or hanging off any edges or corners of the roast, as they will just burn as the pork butt cooks.
Seasoning the Pork Butt
We're working with a larger cut of meat, so use the rub of your choice generously. Using a binder is welcome here but is totally optional. If you do not use a binder, just give the seasoning 10–15 minutes to adhere to the meat before flipping it over and seasoning the other side.
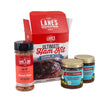
This is the perfect way to try out our Spellbound Hot Rub, but use your favorite Lane’s rub or a combination of rubs to fit your tastes.
Dry the Surface
Pat the roast dry with paper towels so it is easier to handle and the seasoning can adhere evenly.
Add a Binder if Desired
A light layer of mustard, olive oil, or another binder can help hold the rub, but it is not required.
Season Generously
Cover every side of the roast. A pork butt is a large cut and can handle a generous, even coating of seasoning.
The Cook: Times, Temps, and Tips
Whether you are smoking over charcoal, using a pellet grill, or cooking in your oven, the temperature we are shooting for in this method is 325 degrees Fahrenheit. This temperature will allow you to reduce the cooking time without completely burning up your seasoning.
- Preheat to 325°F. Set up your smoker or grill for indirect cooking. If you are using an oven, place the pork in a roasting pan or on a rack over a pan.
- Place the pork fat cap side down. Once you’re up to temperature, put the pork butt on fat cap side down, facing the heat, to insulate and protect the roast from burning. There is plenty of fat running throughout the meat to keep it moist and juicy.
- Catch the drippings. If you have the ability to place a pan or disposable tray underneath to catch the drippings, you’ll want to do so here. Any drippings you are able to collect will come in handy later.
- Spritz once per hour. Once the meat is on and cooking, we recommend spraying with a liquid once every hour just to keep the outside damp while the bark is forming. Use apple cider, apple cider vinegar, water, or a combination in a spray bottle that can produce a fine mist.
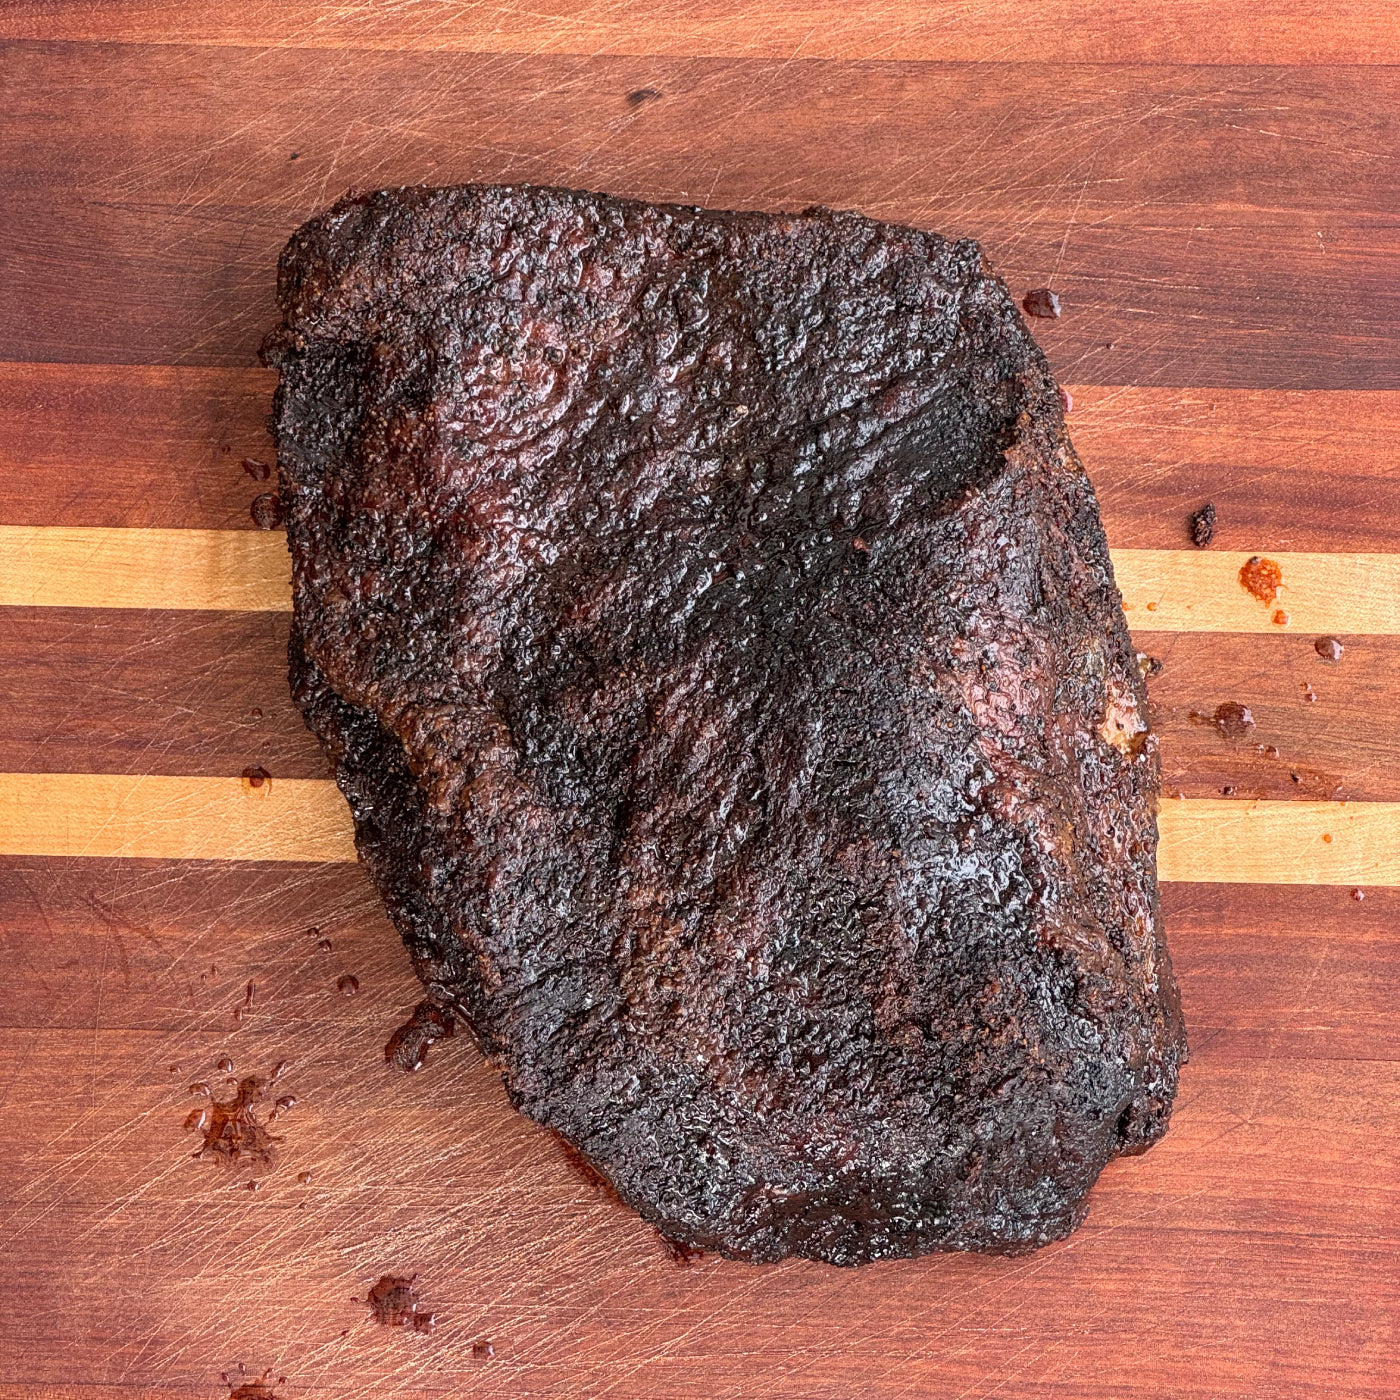
- Watch the bark after two hours. After 2 hours, you’ll want to start monitoring the bark until it gets to the color you are looking for with an internal temperature of 150 to 170 degrees.
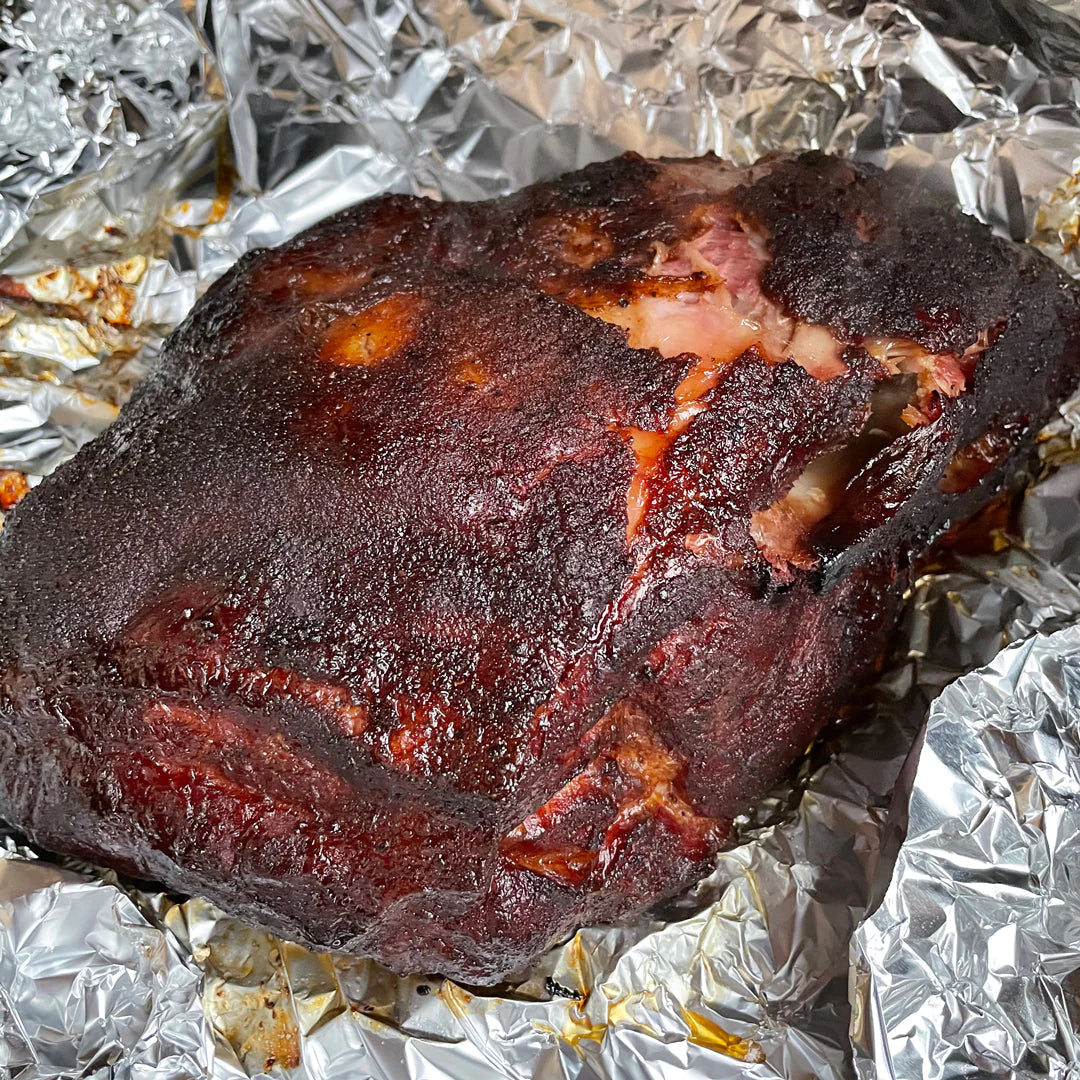
Cook to the bark, not only the clock. The 2–3 hour range is a guide. Wrap when the bark has darkened, looks set, and does not easily wipe away when lightly touched.
The Wrap
Wrapping can be a bit of a controversial topic in the BBQ world, but it is crucial here. If you go all the way at this higher temperature unwrapped, you will turn the outer bark to charcoal by the time the meat is tender and shreddable in the center.
- Prepare the foil. Once you’ve achieved the bark you like, usually 2–3 hours in, prepare a generous double layer of heavy-duty aluminum foil.
- Turn the pork fat side up. Place the pork butt fat side up on the foil and bring the foil up to create a bowl around the roast.
- Add sauce and drippings. Pour in ½ cup to 1 cup of our Itsa Vinegar Sauce and any drippings you are able to collect.
- Seal tightly and continue cooking. Seal the foil around the meat and return it to the cooker.
Most pork butts will be somewhere around 150–170°F when the bark is ready, but the bark’s appearance and texture matter more than hitting one exact number.
Continue cooking until the internal temperature has reached 200–205°F and the meat is soft and tender, usually 5–7 hours total cook time.
How to Know When the Pork Butt Is Done
Internal temperature tells you when to start checking, but tenderness is the final test. Begin checking the roast once it reaches about 200°F.
Probe Tender
A thermometer probe or skewer should slide into several areas of the roast with very little resistance, similar to pushing into softened butter.
Loose Blade Bone
If you are cooking a bone-in pork butt, the blade bone should feel easy to remove with minimal effort.
Soft Through the Center
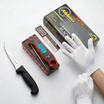
The wrapped roast should feel soft when gently pressed with heat-safe gloves or tongs. If it still feels tight, keep cooking and check again.
Do not pull it just because it reaches 200°F. Every pork butt is different. Some will be ready at 200°F, while others need to reach 203–205°F before the connective tissue has fully softened.
Finishing Up
Keep the roast wrapped and allow to rest for at least 20 minutes or until cooled enough to handle. Should the meat be ready to go too far in advance, rest in a clean cooler with warm dry towels for up to 4 hours.
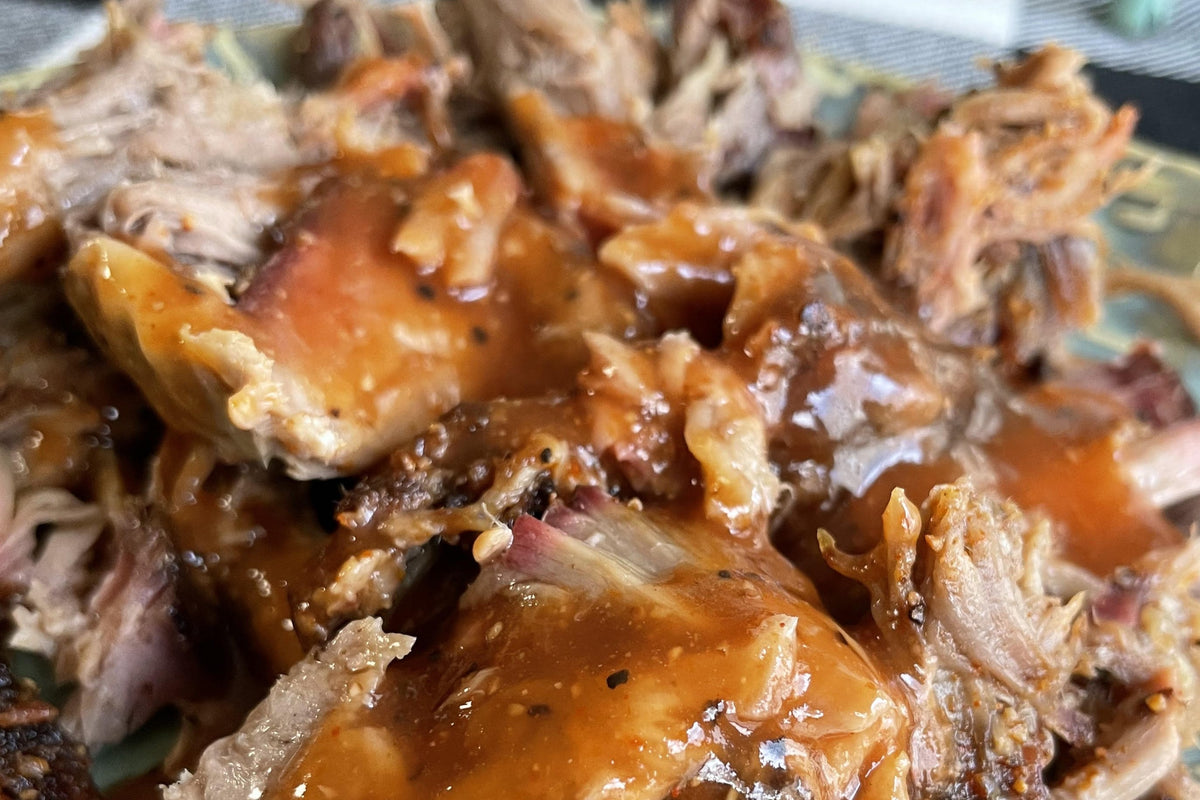
Once you are ready to serve, use your hands or meat claws if you have them to shred the roast apart to your desired consistency.
If you do not have meat claws and prefer not to pull by hand, a stand mixer or hand mixer will also do the trick. You'll want to break the roast up into 3–4 smaller chunks to help the mixer out with the shredding process.
You will probably have more chunks of fat to deal with while shredding due to the lack of trimming. You can finely chop those up and add back in to the final product or discard if you wish.
If the final product is drier than you want, feel free to add some more Itsa Vinegar Sauce, reserved drippings, or butter to the mix. If you like to make your own stock at home, save the bone for that; it can freeze for up to a year without issue.
Do not throw away the liquid in the foil. Let the fat separate if needed, then add a little of the flavorful cooking liquid back into the pulled pork for moisture and flavor.
Don't let the higher cooking temps worry you with this method. It really is super easy to get quality pulled pork with this method. It can be a great way to prep ahead of time for meals and events, or to make and store pulled pork to have on hand straight from the freezer.
Common Hot-and-Fast Pork Butt Mistakes
The higher cooking temperature makes the fat cap especially useful. Remove loose pieces, but leave the main cap intact to help protect the roast.
Place the fat cap toward the main heat source. In most setups that means fat side down, but cooker design matters—use the fat as a heat shield.
At 325°F, the bark can move from dark and flavorful to burned. Wrap once the color and texture are where you want them.
Use 200–205°F as your checking range, then confirm the roast is probe tender before removing it from the cooker.
Resting gives the meat time to settle and makes it safer and easier to pull. Keep it wrapped so it stays hot and moist.
Hot and Fast Pork Butt FAQs
How long does a hot and fast pork butt take?
Plan on approximately 5–7 hours of cooking time at 325°F, plus at least 20 minutes of rest time. The exact cook time depends on the size and shape of the roast, your cooker, and when the meat becomes probe tender.
What temperature should I cook a pork butt hot and fast?
Cook at 325°F. This is hot enough to significantly shorten the cooking time while still allowing the pork to develop bark before it is wrapped.
Should the fat cap be up or down?
Place the fat cap toward the primary heat source so it can help insulate the meat. In many smokers and ovens, that means fat side down during the unwrapped portion of the cook. Turn it fat side up when placing it in the foil.
When should I wrap a hot and fast pork butt?
Wrap when the bark has reached the color and texture you want, generally after about 2–3 hours and somewhere around 150–170°F internally. The bark should look dark and set before you wrap.
Can I use butcher paper instead of foil?
Foil is strongly preferred for this method because it provides more protection from the higher heat and holds the added sauce and drippings around the roast. Butcher paper breathes more and will not contain liquid as effectively.
Is the pork butt done at 200°F?
It may be, but temperature is only the starting point. Check between 200–205°F and remove the pork when a probe slides into the meat with very little resistance and the blade bone feels loose.
Can I cook this method in the oven?
Yes. The same 325°F method works in an oven. You will not get smoke flavor unless the pork was smoked first, but the roast can still develop seasoning bark and become tender when wrapped and cooked to doneness.
How long can I hold the finished pork butt?
Keep it wrapped and hold it in a clean insulated cooler with warm, dry towels for up to 4 hours. Keep food-safety temperatures in mind and use a thermometer if you are holding it for an extended period.
What to Make With Pulled Pork
Check out the following recipes to make with your finished product or to use up any leftover pulled pork you may have.
Sweet BBQ Pizza
Turn leftover pulled pork into a sweet, smoky barbecue pizza.
Lane's Brunswick Stew
Add pulled pork to a hearty Southern-style stew.
Pulled Pork BBQ Nachos
Layer pulled pork over nachos for an easy crowd-pleasing meal.
Ready to Make Pulled Pork?
Start with a generously seasoned pork butt, protect it from the higher heat, wrap once the bark is set, and cook until it is truly tender.


Leave a comment
All comments are moderated before being published.
This site is protected by hCaptcha and the hCaptcha Privacy Policy and Terms of Service apply.