









How to prepare your grill for summer
updated 07/30/2026
Winter is over. The sun is out. And your grill? Yeah, it has been sitting there collecting dust, grease, and probably a questionable science experiment or two. Before you throw steaks on and hope for the best, give it a quick reset. Clean the grates, remove grease and ash, inspect the important parts, check your fuel, and complete a test run before the first real cook.
This does not have to become a deep-cleaning marathon. The Lane's 10-Minute Grill Reset handles the basics, while the gas, charcoal, and pellet grill checklists below help you tackle anything that needs more attention.
The 10-minute summer grill prep checklist
If you are in a hurry, here is the no-nonsense version:
- Inspect before lighting. Look for loose parts, damage, pests, blocked vents, and heavy grease buildup.
- Clear old debris. Empty the grease system, remove cold ash, or vacuum the pellet grill fire pot as appropriate.
- Check the fuel. Confirm your propane level, charcoal supply, or pellet condition before everybody gets hungry.
- Clean the grates. Use the method recommended for your grate material and grill model.
- Test the important parts. Check gas connections, burners, ignition, vents, auger, or fire pot depending on the grill.
- Complete a test run. Confirm that the grill lights correctly, heats evenly, and holds temperature before food enters the conversation.
That gets you most of the way there. Want to do it right and avoid turning the first cookout into an appliance troubleshooting seminar? Keep going.
The Lane's 10-minute grill pre-check
Before you clean anything, make sure the grill is worth firing up. Keep it cool, disconnect electrical power where applicable, and close the fuel supply before inspecting or taking parts apart.
Check the body
Look for rust holes, cracked or brittle parts, loose lid hinges, unstable legs, damaged wheels, and wobbly shelves. Tighten or replace anything that looks sketchy now, not while guests watch you search for answers with tongs in hand.
Check the airflow
Make sure vents move freely. On gas grills, inspect burner openings for blockages. Spiders and other insects can move into burner tubes and air openings while the grill is sitting unused.
Check the grease
Inspect the cook box, drip tray, grease cup, and drainage channels. Heavy buildup can contribute to flare-ups and grease fires, so give that old grease an eviction notice.
What you'll need
Skip the loose wire-bristle drama
Traditional wire grill brushes can shed bristles. Those bristles may stick to a grate, transfer to food, and create a serious ingestion hazard. The CPSC has recalled millions of wire-bristle grill brushes, so this is not just the grill world being dramatic for sport.
Bristle-free scrubber
Choose a coil-style or another bristle-free tool that is compatible with your grate material.
Grill stone or brick
Use only if the grill manufacturer approves it. Some abrasive tools can damage coated grates.
Foil held with tongs
This can handle a quick scrape after preheating. Hold it securely and keep your hands away from hot surfaces.
After cleaning, inspect and wipe the grates before cooking. Even with a bristle-free tool, nobody has ever complained that their grill grate was too carefully checked.
How to prepare a gas grill for summer
- Inspect the hose and connections. With the grill cool and all burner knobs off, look for cracks, abrasions, or damaged fittings. Replace damaged parts before use.
- Leak-test the gas connections. Apply a thick dish-soap-and-water solution to the connection points. Slowly open the cylinder valve while the burner controls remain off. Growing bubbles indicate a leak. Close the valve and do not light or use the grill until the connection or part has been corrected according to the manufacturer's instructions.
- Clean the grates. Remove loose debris with a bristle-free tool. Clean removable grates according to the manual, then dry them completely. Do not assume every cast-iron or coated grate should soak in water.
- Clean the heat shields. Remove and scrape the heat tents, Flavorizer-style bars, or burner protectors if your model allows it. Clearing accumulated debris helps reduce flare-ups and promotes more even heating.
- Inspect and clean the burners. Clear burner ports using the direction and tool specified by the manufacturer. Be careful around ignition electrodes. If a burner is damaged or badly corroded, replace it instead of attempting a backyard-engineering miracle.
- Clean the cook box and grease system. Scrape loose buildup toward the grease tray. Empty and clean the tray and cup, then replace disposable liners if needed.
- Reassemble and test. Confirm that the ignition works, the flame pattern looks even, and the grill reaches temperature normally. If you see persistent yellow flames, soot, uneven burning, or smell gas, turn it off and follow the manual or contact a qualified technician.
How to prepare a charcoal grill for summer
Charcoal grills are simple until old ash turns into a moisture trap and rust starts a slow clap.
- Remove the old ash. Wait until the charcoal and grill are completely cold. Empty the ash catcher and clear remaining ash from the bowl. Ash left sitting in the grill can hold moisture and promote corrosion.
- Clean the grates. Remove loose debris, then clean the cooking grate using the method approved for its material. Rinse only when appropriate and dry completely.
- Scrape the bowl and lid. Remove loose, flaky carbon buildup from the inside. That material is not peeling paint, but it still does not need to join dinner.
- Check the vents. Make sure top and bottom vents open and close smoothly. Reliable airflow control makes reliable temperature control possible.
- Inspect the charcoal grate and ash system. Replace severely warped, rusted, or damaged parts. Make sure the grill stands securely and the ash catcher locks into place.
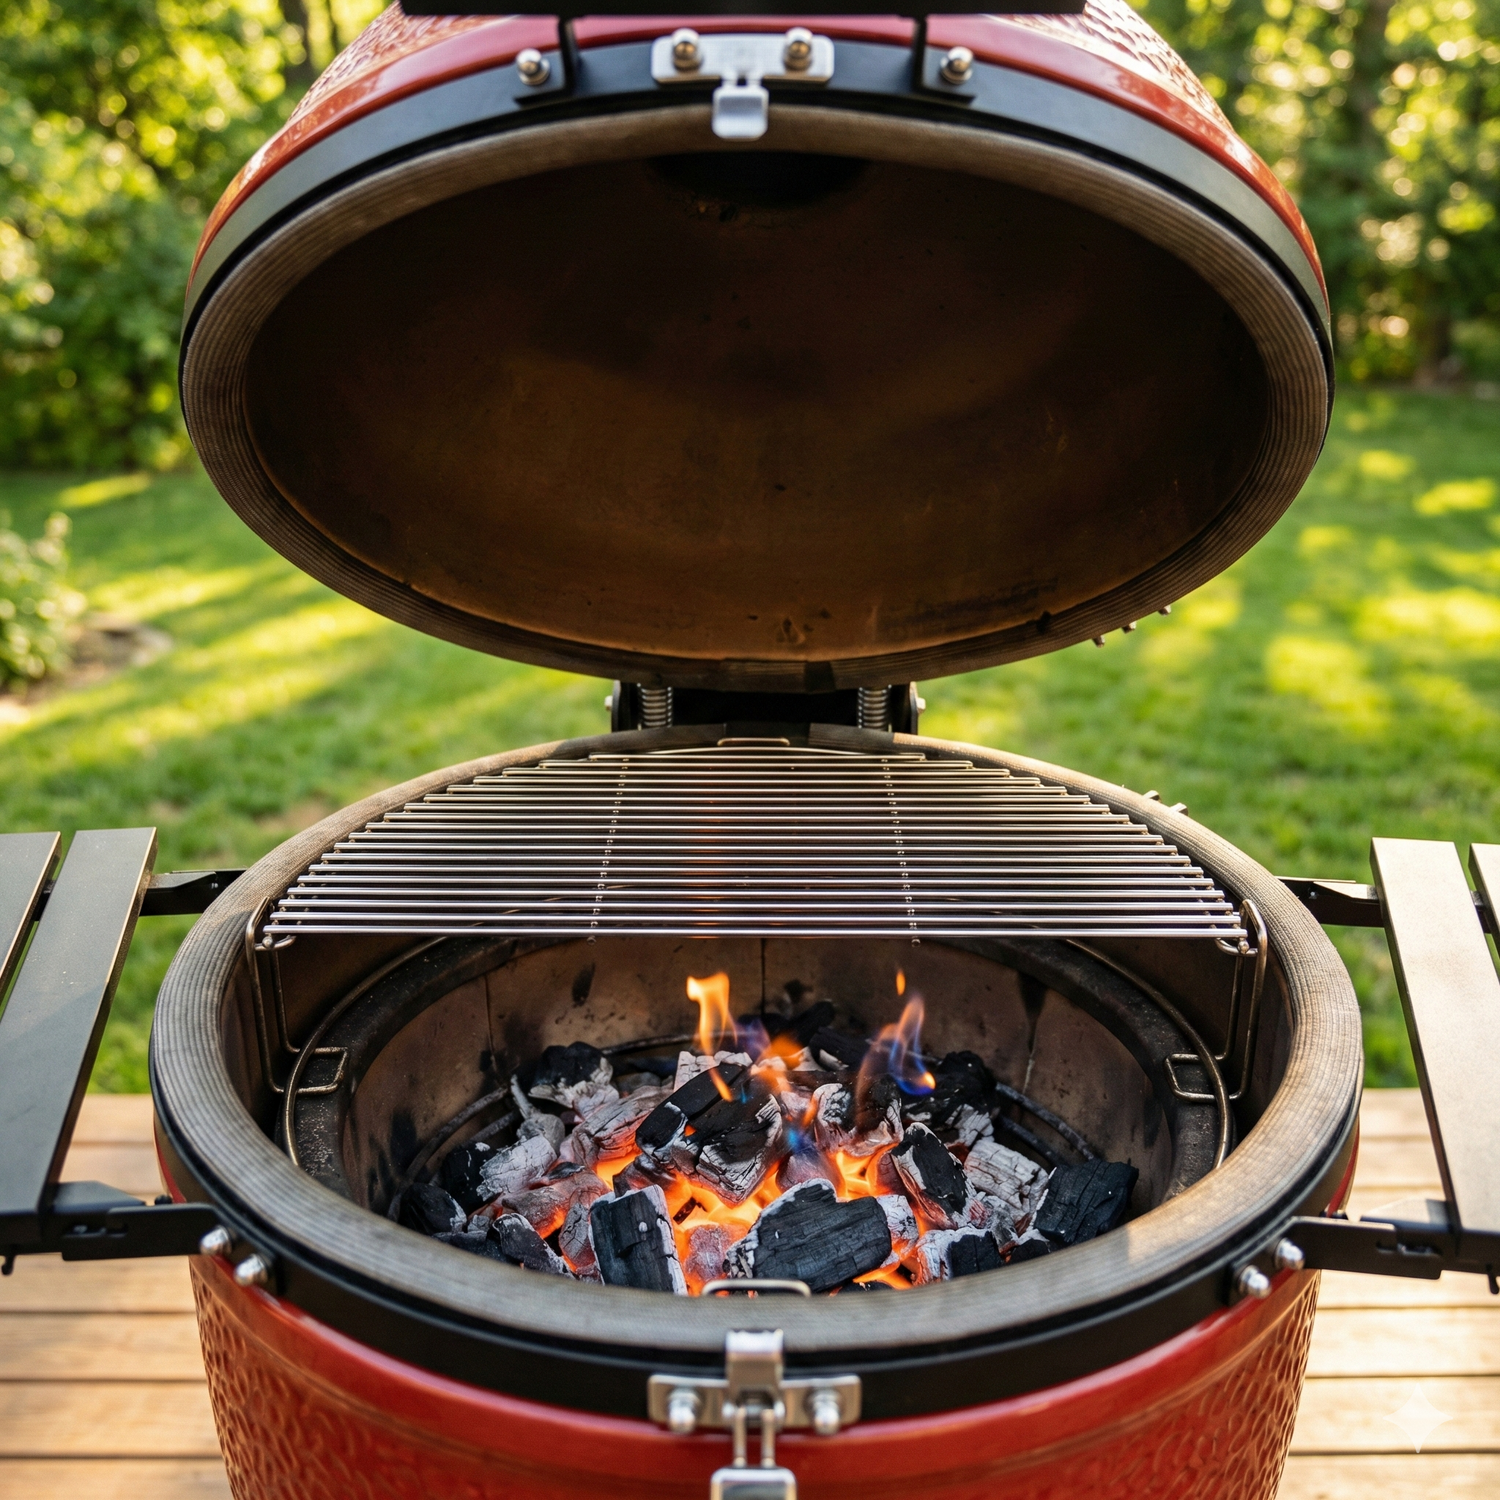
- Light and preheat. Once the coals are ready, preheat the cooking grate and give it a final cleaning. Lightly oil only if the grate manufacturer recommends it.
How to prepare a pellet grill for summer
Pellet grills run like champions when they are clean and can act like divas when they are not. Unplug the grill and make sure every component is completely cold before cleaning.
- Empty ash from the fire pot. Remove the grates, drip tray, and heat baffle as directed by the manual. Vacuum loose ash from the fire pot and grill body with a shop vacuum. Never vacuum warm ash or embers.
- Clean the grates. Scrape away debris and follow the manufacturer's method for your grate material. Dry everything before reassembly.
- Clean the drip tray and grease path. Scrape the drip tray and clear the grease channel, chute, and bucket. Built-up grease can create flare-ups and unpleasant smoke.
- Check the pellets. Replace pellets that are damp, swollen, soft, or crumbly. Moisture-damaged pellets can break apart, feed poorly, and contribute to auger problems. Store good pellets in a dry, sealed container.
- Inspect the fire pot and temperature sensor. Check for damage and gently clean components only as directed by the manual. Do not bend or aggressively scrape the temperature probe.
- Complete a test run. Reassemble the grill, plug it in, and verify ignition, pellet feeding, clean smoke, and steady temperature before adding food.
A simple summer grill maintenance schedule
A little maintenance keeps the next deep clean from becoming an archaeological dig.
- Clean grates according to the manufacturer's directions
- Check the grease cup or tray
- Cover the grill after it is completely cool
- Wipe exterior shelves and handles
- Check the grease pathway
- Empty ash as appropriate for charcoal or pellet grills
- Give the interior a quick scrape
- Clean the drip tray more thoroughly
- Inspect fuel lines, vents, and moving parts
- Complete a full deep clean
- Inspect wear parts and fasteners
- Review your model's maintenance schedule
Your cooking frequency and grill model may call for more frequent cleaning. If grease, ash, or carbon is building up, the calendar does not get a vote. Clean it.
Put that clean grill to work
Grilling guides
Summer grill preparation FAQs
Can I burn off my grill instead of cleaning it?
Not completely. Preheating can loosen residue, but you still need to remove debris from the grates and clean accumulated grease, ash, or carbon from the appropriate areas.
How do I check a gas grill for leaks?
With the burner controls off, apply a thick dish-soap-and-water solution to the gas connection points and slowly open the cylinder valve. Growing bubbles indicate a leak. Close the valve and do not use the grill until the problem has been corrected according to the manufacturer's instructions.
Should I remove ash from my charcoal grill after every cook?
Remove ash regularly and before it accumulates. Wait until the grill, charcoal, and ash are completely cold. Ash can hold moisture and contribute to corrosion when left sitting in the grill.
What is the safest way to clean grill grates?
Use a bristle-free tool approved for your grate material and follow the grill manufacturer's directions. Inspect and wipe the grate after cleaning. Avoid loose wire-bristle brushes because detached bristles can transfer to food.
Can I wash every grill grate with soap and water?
No. Cleaning instructions vary for stainless steel, bare cast iron, porcelain-coated cast iron, and other grate materials. Check the owner's manual before soaking or using soap, abrasive tools, or cleaners.
How often should I deep-clean my grill?
A full cleaning once or twice during the main grilling season is a useful starting point, with lighter cleaning after cooks. Heavy use or visible grease, ash, and carbon buildup may require more frequent attention.
How can I tell if wood pellets have gone bad?
Replace pellets that became damp, swollen, soft, or crumbly. Good pellets should remain firm and snap cleanly. Store them in a dry, sealed container.
Should I oil grill grates after cleaning?
Only if the manufacturer recommends it for your grate material. Some bare cast-iron grates benefit from a thin coat of oil, while other grates have different care instructions.
Your grill is clean. Now make it earn its keep.
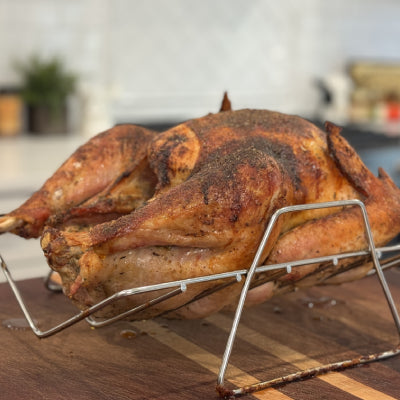
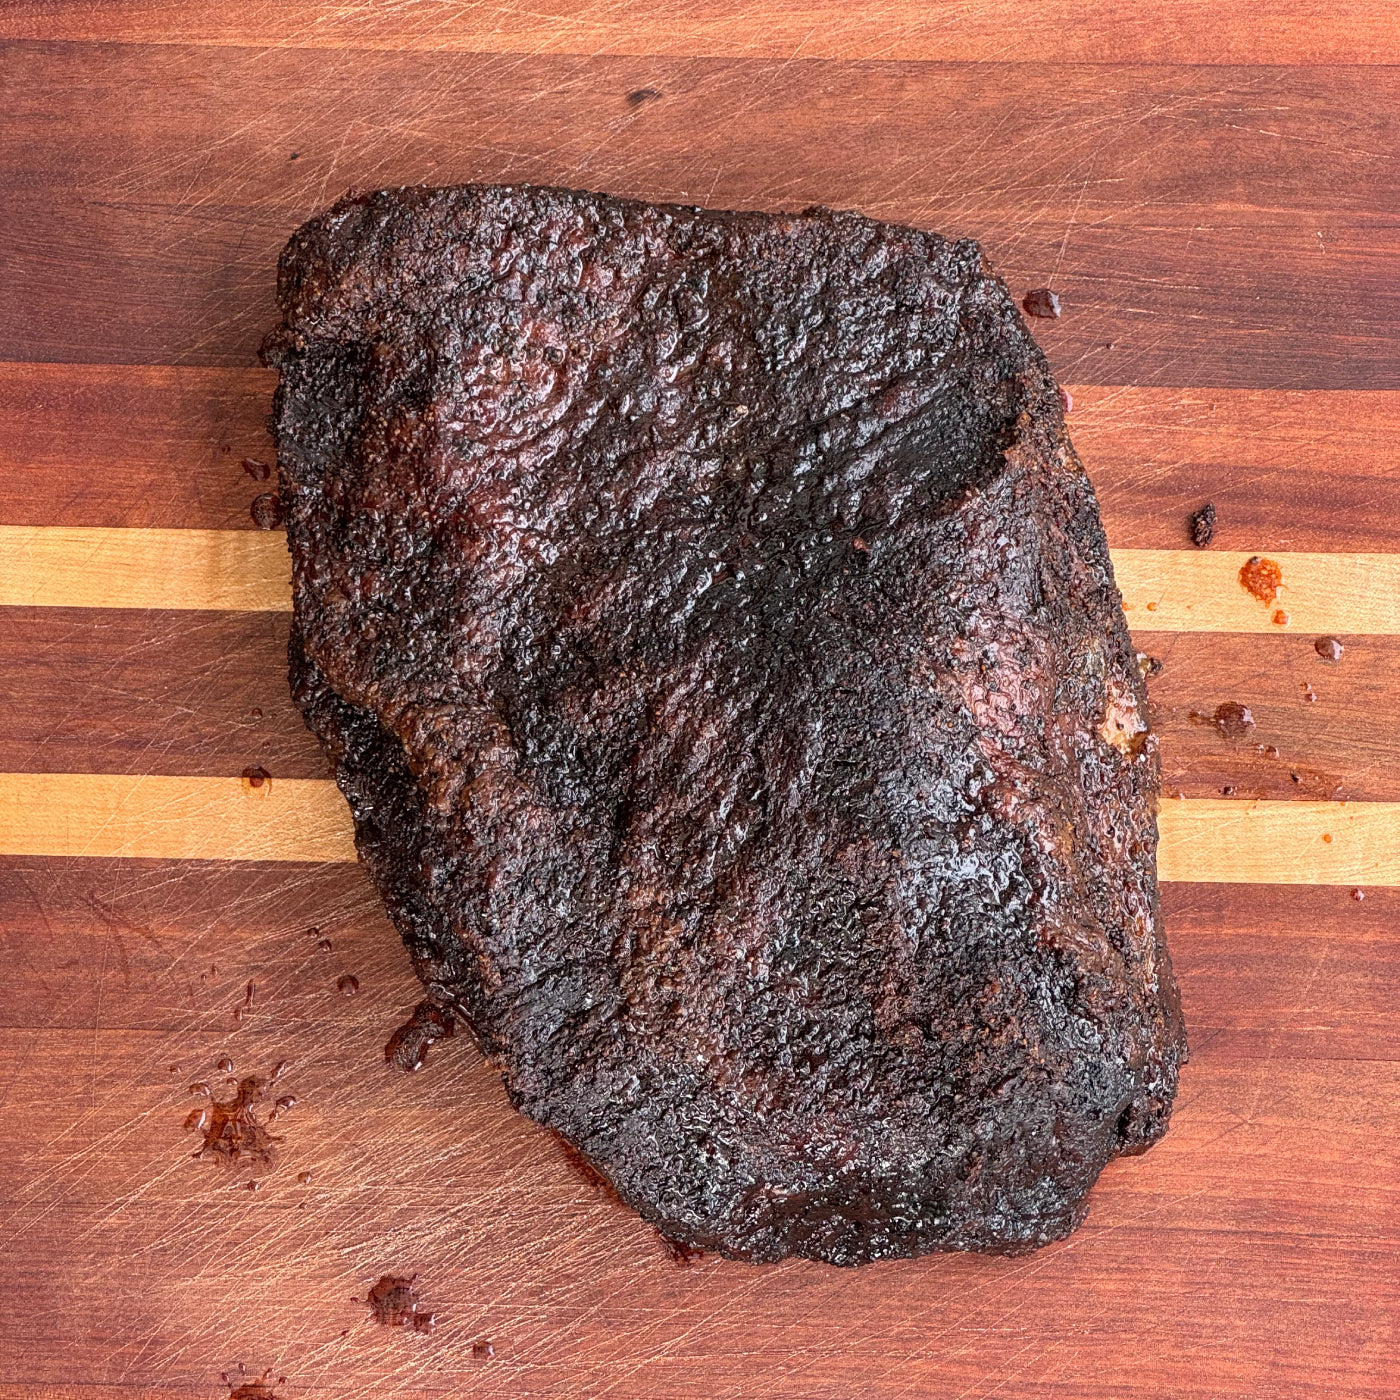
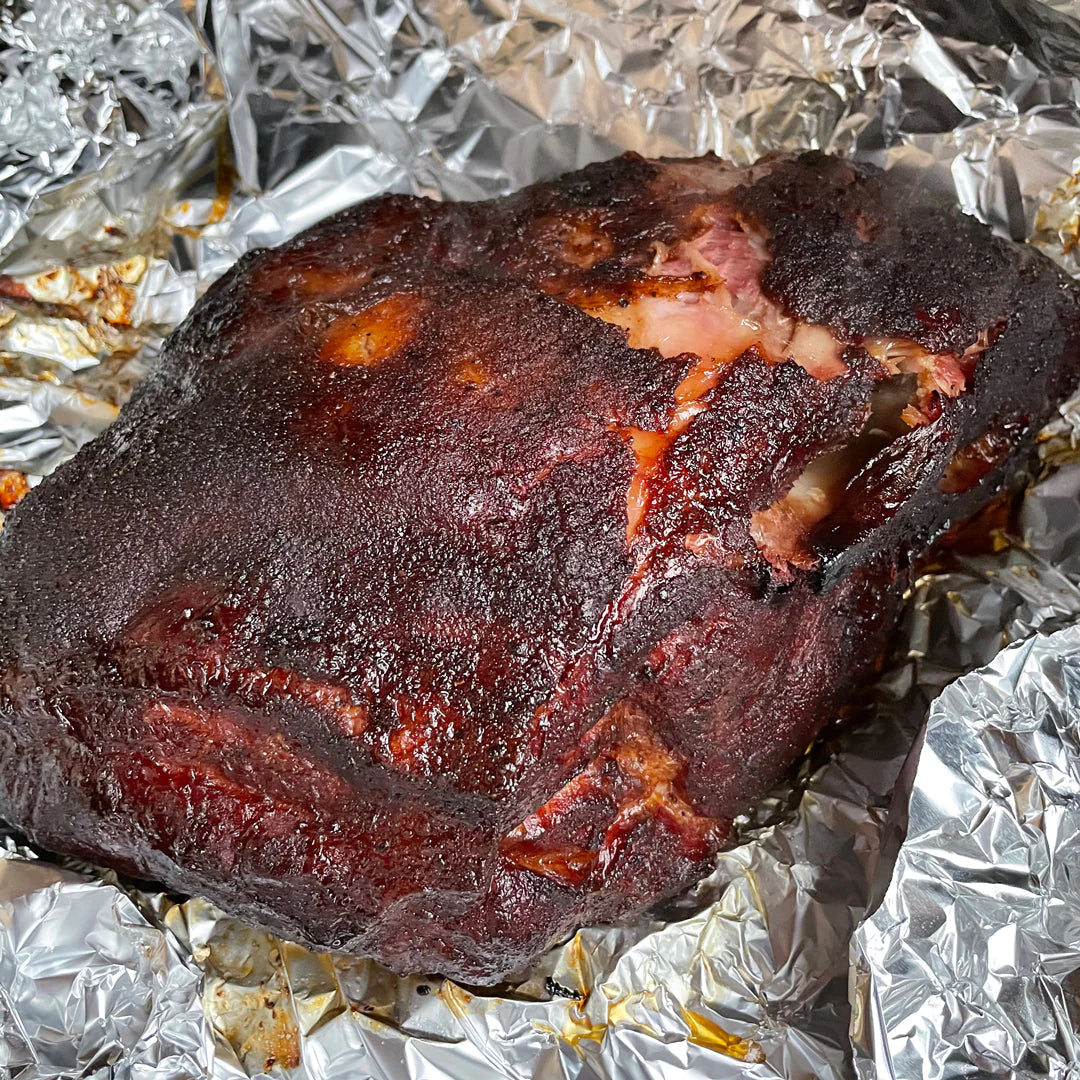
Pick a rub, grab your favorite protein, and go cook something delicious. If the neighbor just happens to wander over when the smoke starts rolling, you did not hear it from us.


Leave a comment
All comments are moderated before being published.
This site is protected by hCaptcha and the hCaptcha Privacy Policy and Terms of Service apply.