


How to Use Grilling Planks
Grilling planks are one of the easiest ways to add gentle wood flavor while protecting delicate food from the direct blast of the fire. Salmon made the method famous, but chicken, pork, vegetables, fruit, and even cheese can get in on the action. The key is using the right wood, soaking it properly, controlling the heat, and remembering that the plank is supposed to smolder a little, not audition for a bonfire.
What You'll Need
What Are Grilling Planks?
Grilling planks are thin, flat pieces of food-safe wood made for cooking. The food sits on the plank instead of directly on the grill grate. As the wood heats, it releases aromatic smoke and creates a buffer between the food and the fire.
That buffer is especially helpful for fish and other foods that can stick, break, or dry out over direct heat. The bottom of the plank chars while the top supports the food and adds a subtle wood aroma. Plank cooking is closer to roasting with a little smoke than traditional grill-mark cooking.
Use only untreated, food-grade grilling planks. Never use construction lumber, fence boards, pallet wood, stained wood, or scraps of unknown origin. Chemicals, adhesives, finishes, and contaminants do not belong anywhere near dinner.
Why Use a Grilling Plank?
Gentle Wood Flavor
Cedar, alder, maple, cherry, hickory, and oak each bring a different aroma. The flavor is usually softer than traditional smoking, which makes planks a great match for fish, poultry, vegetables, and fruit.
Protection from Direct Heat
The plank shields food from flames and the hottest part of the grate. That can reduce sticking, flare-ups, and broken fish fillets while allowing the food to cook with fewer trips through the spatula obstacle course.
A Little Extra Moisture
A properly soaked plank releases some steam as it heats. That does not guarantee juicy food by itself, but the gentler cooking environment can help delicate proteins cook more evenly.
You usually will not flip food cooked on a plank. The covered grill surrounds it with heat while the plank protects and flavors the underside.
Choosing the Right Wood
Match the strength of the wood to the food. Delicate fish generally works best with mild or aromatic woods, while beef and pork can stand up to something bolder. If you want a deeper look at wood flavor, see Lane's Best Woods for Smoking guide.
Cedar
Aromatic, recognizable, and the classic choice for salmon. It also works with trout, shrimp, vegetables, and chicken.
Alder
Mild and slightly sweet. Pair it with white fish, scallops, shrimp, chicken, or foods that could be overwhelmed by a stronger wood.
Maple
Mild with a light sweetness. It is a natural fit for pork, poultry, squash, carrots, sweet potatoes, peaches, and pineapple.
Cherry
Gently sweet and fruity. Try it with poultry, pork, vegetables, fruit, or a hearty piece of fish.
Hickory
Bold and smoky. It works best with pork, beef, hearty vegetables, and foods that will not disappear behind a stronger wood flavor.
Oak
Medium to bold with a familiar smoke profile. Use it with beef, pork, mushrooms, potatoes, and other robust foods.
How to Prepare a Grilling Plank
- Read the package directions. Plank thickness and manufacturer instructions vary. Follow the stated soaking time and cooking method for the plank you have.
- Rinse the plank. Brush away any loose wood dust or debris under clean running water.
- Submerge it completely. Place the plank in water and weigh it down with a bowl, glass, or other clean object. The original Lane's method calls for soaking for 1–2 hours.
- Prepare a two-zone grill. Set up one hotter side and one cooler side. Aim for medium heat, around 350–400°F, unless your plank manufacturer or recipe directs otherwise.
- Keep water nearby. A spray bottle can control a small flare along an exposed edge. It is backup, not permission to walk away from the grill.
Can You Soak a Plank in Beer, Wine, or Juice?
You can replace part of the water with another liquid if the plank manufacturer permits it, but do not expect a dramatic flavor change. The wood and seasoning do most of the talking. Water is inexpensive, reliable, and does not make you explain why half a beer is sitting under a cutting board.
How to Use a Grilling Plank Step by Step
- Season the food. Apply your rub, marinade, herbs, citrus, or glaze before the food goes onto the plank. Pat very wet marinades lightly so they do not run into the grill.
- Preheat the grill. Bring the covered grill to medium heat, about 350–400°F. For a gas grill, light one side. For charcoal, bank the coals to one side.
- Start the plank. If the manufacturer's instructions allow it, place the soaked plank over direct medium heat for a few minutes until the underside begins to lightly char and smoke. Do not leave it unattended.
- Turn and load. Flip the plank so the lightly charred side faces up, then place the seasoned food on that side. Keep as much of the plank covered as practical.
- Move to controlled heat. Shift the loaded plank to the indirect or cooler side of the grill. Close the lid so heat and wood aroma circulate around the food.
- Monitor without flipping. Check the plank for flames and rotate it if one edge is browning much faster. Most planked food cooks without being flipped.
- Cook to temperature. Cooking time changes with food thickness, grill temperature, weather, and plank size. Use a thermometer instead of trusting an internet timer with your dinner.
- Remove safely. Transfer the food with a spatula, or move the whole plank with sturdy tongs or heat-safe gloves. Set it only on a heatproof surface.

Never leave a grilling plank unattended. Light charring and a little smoke are expected. Open flames rolling around the food are not. Move the plank away from direct heat and carefully mist the exposed edge if a flare starts.
The Best Foods for Grilling Planks
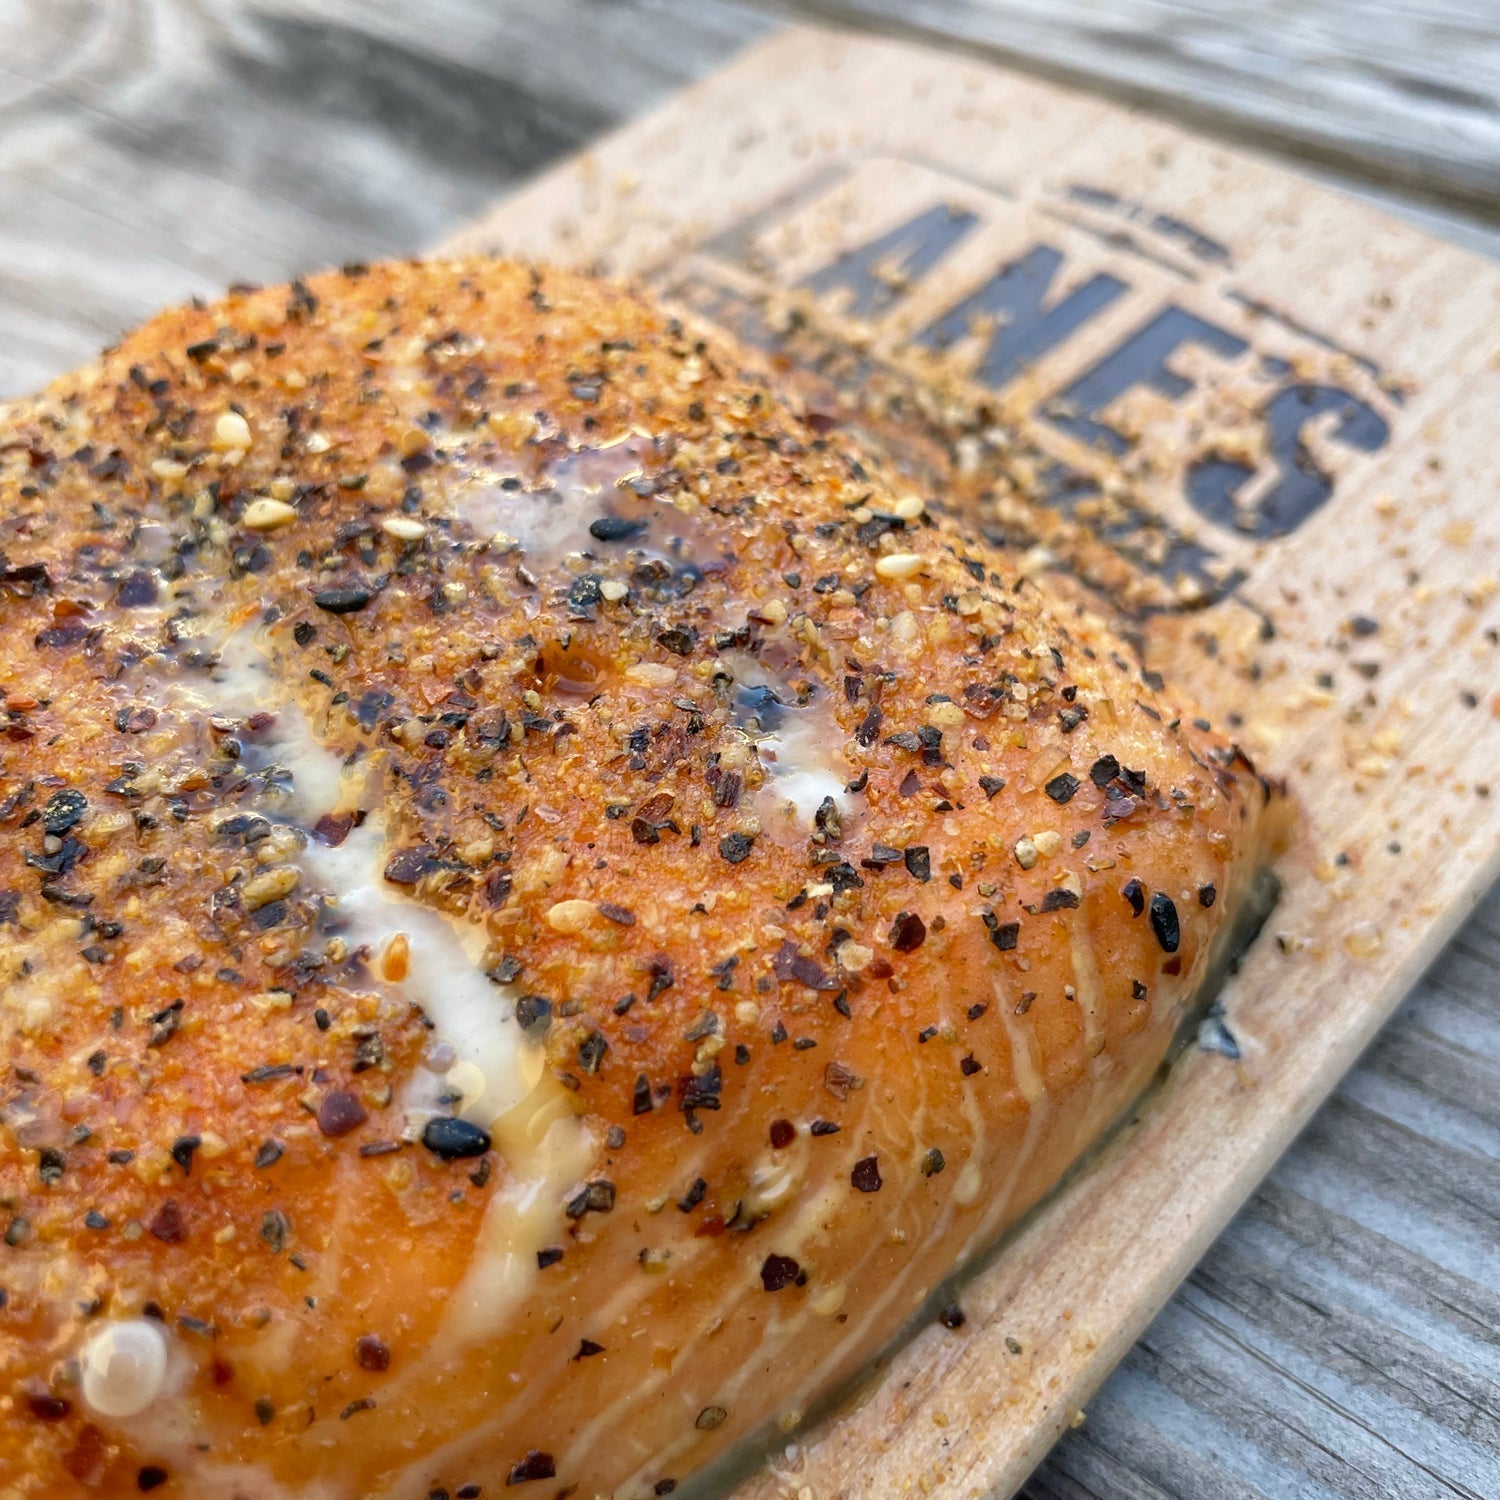
Salmon and Fish
Salmon is the classic because the plank supports the whole fillet and adds aromatic flavor. Trout, cod, halibut, and other firm fillets also work well.
Chicken
Boneless breasts and thighs benefit from gentle heat and mild wood. Avoid extremely thick pieces unless the recipe gives them enough time to cook safely.
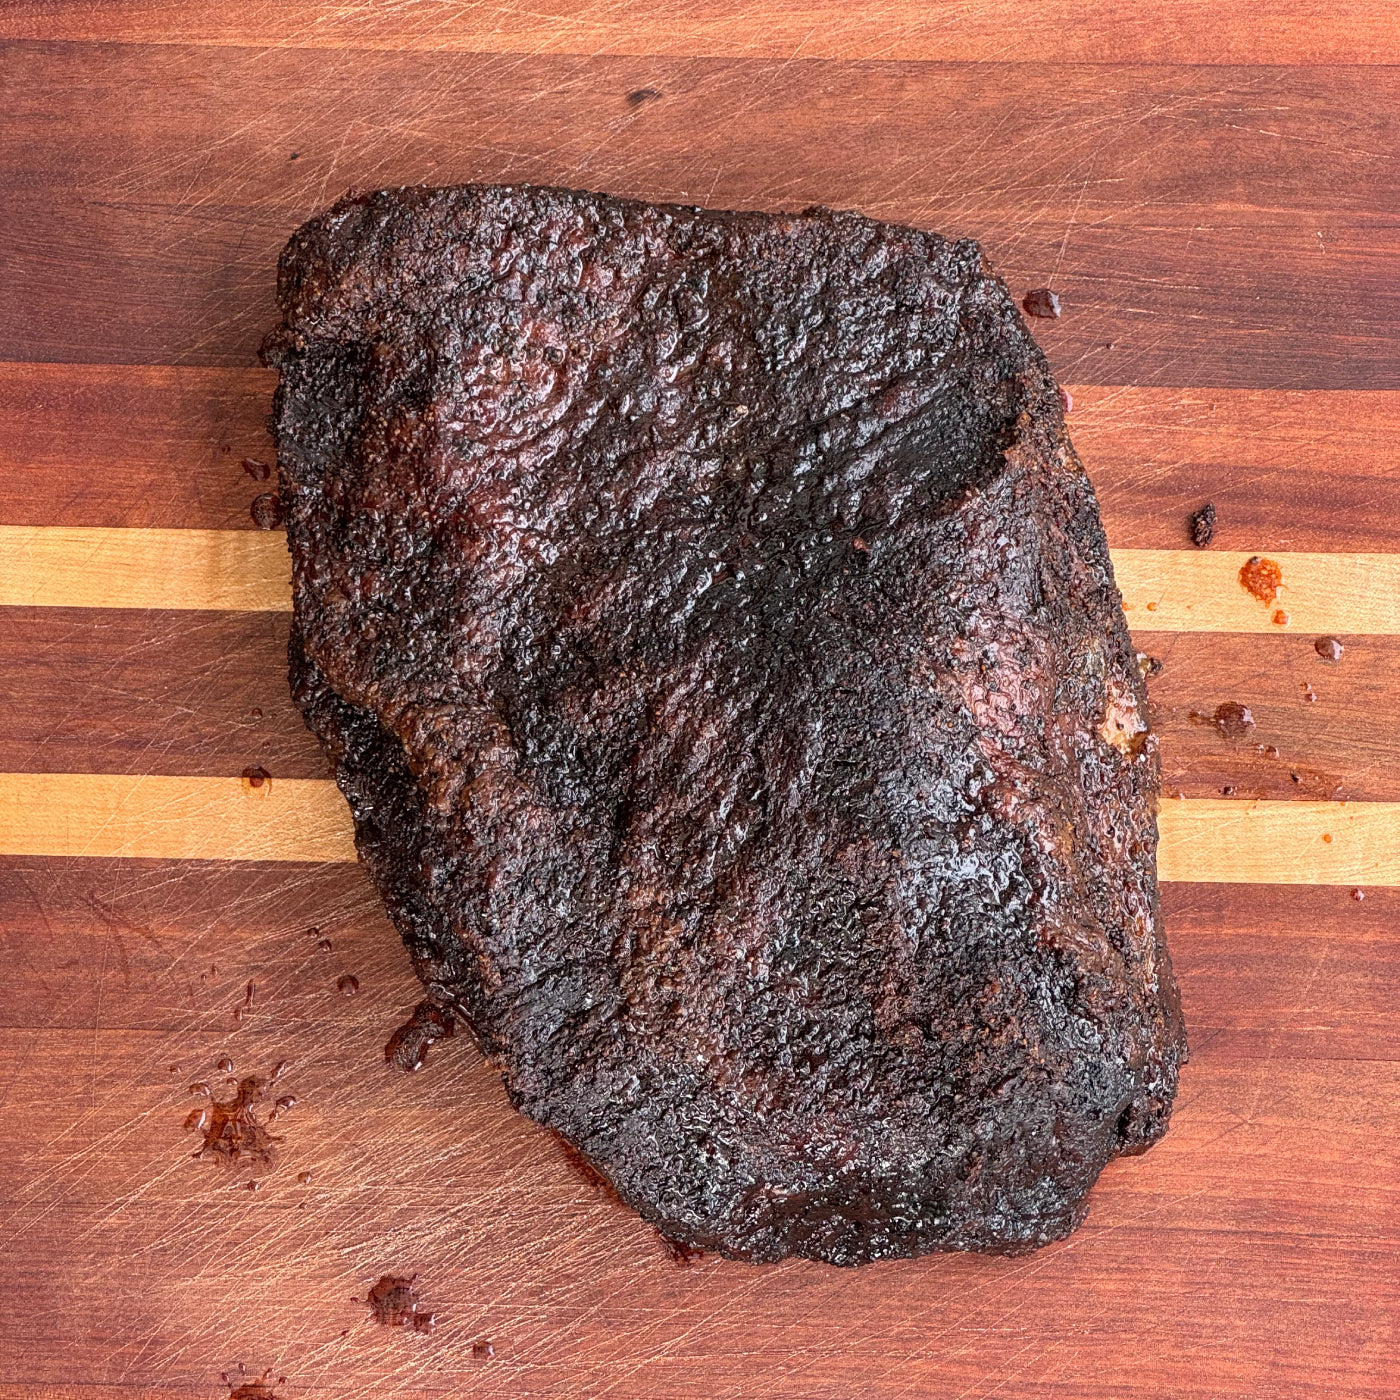
Pork
Chops, tenderloin medallions, and smaller cuts pair well with maple, cherry, oak, or hickory. Thick cuts may need a longer indirect cook.
Vegetables
Try asparagus, zucchini, peppers, mushrooms, onions, corn, potatoes, or root vegetables. Cut dense vegetables smaller or partially cook them first.
Fruit
Peaches, pineapple, pears, and apples pick up gentle smoke while their sugars caramelize. Maple and cherry planks are especially good partners.
Cheese and Appetizers
Use planks for heat-safe cheeses, stuffed mushrooms, or bite-size appetizers that would be awkward directly on the grate. Follow a tested recipe so nothing melts into the fire.
Fresh herbs, citrus slices, or thin aromatics can sit between the food and plank for another layer of flavor. Keep them beneath the food so loose leaves do not dry out and burn.

Cook to Temperature, Not Just Time
A plank can slow cooking compared with placing food directly on the grate. Check the thickest part with an instant-read thermometer and use safe minimum temperatures as the baseline.
Fish and Seafood
- Fish: 145°F, or until opaque and easy to separate with a fork
- Shrimp, lobster, crab, and scallops: flesh should be pearly or white and opaque
- Clams, oysters, and mussels: cook until shells open
Meat and Poultry
- Chicken and other poultry: 165°F
- Whole cuts of pork and beef: 145°F with a 3-minute rest
- Ground meat: 160°F
- Ground poultry: 165°F
Remove meat based on temperature and the doneness appropriate for the food. A five-minute difference can be nothing on one grill and the entire ballgame on another.
Grilling Plank Tips and Tricks
Cover the Plank
Use food that fits comfortably on the board and covers much of its top surface. Large exposed areas can dry and char faster.
Use a Two-Zone Fire
The hotter side can start the plank when directed; the cooler side gives you control for the longer cook. That escape route matters when the wood gets enthusiastic.
Keep the Lid Closed
A closed lid holds the grill at a roasting temperature and circulates the wood aroma. Peek only when you need to check the plank or food temperature.
Glaze Near the End
Sugary sauces can burn during a longer cook. Brush them on during the final minutes so they set without turning bitter.
Do Not Expect Heavy Smoke
Planks add a gentle aromatic flavor, not the same result as hours in a smoker. That lighter touch is exactly why they work so well with seafood.
Treat It as Single-Use
For the cleanest flavor and simplest food handling, follow the manufacturer's instructions and plan to discard a plank after cooking.
Grilling Plank Troubleshooting
The Plank Caught Fire
Move it immediately to indirect heat and carefully mist the exposed flame. Make sure the plank was soaked according to its directions, avoid open flame, and do not leave uncovered wood over the hottest part of the grill.
The Food Is Cooking Too Slowly
Check the grill temperature with the lid closed. Cold weather, a thick plank, a large piece of food, or frequent lid opening can extend the cook. Do not move poultry to direct flame just to race the clock.
There Is Barely Any Wood Flavor
Plank flavor is naturally subtle. Use a fresh plank, keep the lid closed, choose a stronger wood, or start the underside over direct medium heat if the manufacturer recommends that step.
The Food Stuck to the Plank
Slide a thin spatula gently between the food and wood. Fish skin may remain on the plank, which can make serving the fillet easier. Do not scrape so hard that wood splinters enter the food.
Dispose of the plank safely. Let it cool completely on a noncombustible surface before discarding it. A blackened plank can hold heat or embers longer than it appears.
Grilling Plank FAQs
Do you have to soak a grilling plank?
Follow the manufacturer's instructions for your specific plank. Most wood grilling planks should be submerged before use; the original Lane's method calls for soaking for 1–2 hours.
What temperature should I use for plank grilling?
Medium heat around 350–400°F works for many plank-grilling recipes. Follow the plank package and recipe directions, and use a two-zone fire for better control.
Can I use any piece of wood as a grilling plank?
No. Use only untreated, food-grade wood sold for cooking. Never use construction lumber, pallet wood, stained wood, or scraps of unknown origin.
Should a grilling plank catch fire?
No. Light charring and smoke are normal, but sustained flames are not. Move the plank to indirect heat and carefully control a small flare with water.
Do you flip food when cooking on a plank?
Usually not. Close the grill lid and let the surrounding heat cook the top while the plank protects and flavors the bottom.
Can you reuse a grilling plank?
Some planks may physically survive another cook, but flavor diminishes and cleaning becomes more complicated. Follow the manufacturer's instructions and plan to treat grilling planks as single-use.
What wood is best for plank-grilled salmon?
Cedar is the classic choice for salmon because its aromatic flavor pairs well with rich fish. Alder offers a milder option.
Can I put a grilling plank in the oven?
Only use a plank in the oven if its manufacturer specifically approves oven cooking. Place it on a baking sheet, follow the supplied temperature directions, and never leave it unattended.
How do I know when food on a grilling plank is done?
Use a food thermometer in the thickest part. Fish should reach 145°F, poultry 165°F, and whole cuts of pork or beef 145°F followed by a 3-minute rest.
Plank Grilling Without the Drama
Start with a food-safe plank, soak it as directed, build a controllable two-zone fire, and stay close enough to notice if the wood gets ambitious. From there, plank grilling is simple: season the food, close the lid, cook to temperature, and let the wood add its quiet little layer of flavor. No flipping circus required.

Leave a comment
All comments are moderated before being published.
This site is protected by hCaptcha and the hCaptcha Privacy Policy and Terms of Service apply.