




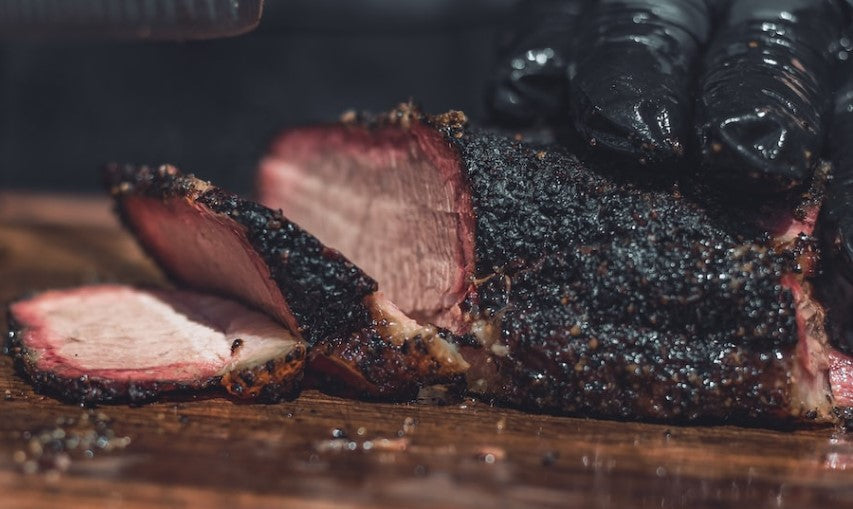
Brisket tips and hacks that actually make a difference
updated 07/30/2026
Brisket does not need a secret handshake, a lucky hat, or twelve mystery injections. It needs steady heat, good bark, enough time, and a cook who knows when to stop watching the clock and start paying attention to the meat.
This is the companion guide for cooks who already understand the basic process and want better results. If this is your first brisket, begin with our complete How to Smoke a Brisket guide. Then come back here for the judgment calls, rescue moves, and practical little tricks that turn “I followed the recipe” into “I understand what the brisket is doing.”
What You’ll Need
Tip 1: Finish Early, Not Right on Time
The easiest way to ruin a brisket is to promise dinner at 6:00 and discover at 5:48 that the flat still feels like a work boot. Briskets of similar weight can finish hours apart because thickness, marbling, weather, airflow, cooker performance, and the individual cut all affect the cook.
Build the schedule backward from serving time and include a generous holding window. A properly managed brisket can wait. A tough brisket cannot be bullied into tenderness because your family brought plates.
- Estimate the cook generously. Use time-per-pound only for planning, never as a promise.
- Add a buffer. Aim to finish at least 2–4 hours before serving when your hot-holding setup can safely maintain the brisket.
- Prepare the holding area early. Confirm the oven’s lowest setting or preheat an insulated cooler shortly before the brisket finishes.
- Track trends, not every wiggle. Pit and meat temperatures naturally move. React to sustained problems instead of chasing every degree.
Brisket is done when it is tender. Dinner time is a scheduling preference. Connective tissue has declined your calendar invitation.
Tip 2: Trim the Brisket While It Is Cold
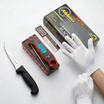
This tip from the original article stays because it works. Cold fat is firm and easier to shape. Warm fat gets soft, slippery, and determined to make your knife skills look fictional.
- Trim the fat cap to an even layer about ⅛–¼ inch thick.
- Remove hard waxy fat that will not render well during the cook.
- Trim thin edges and loose flaps that are likely to dry out or burn.
- Round sharp corners so heat and airflow move more evenly around the brisket.
- Do not chase perfection until half the brisket is in the trash bowl.
Before trimming, identify the grain direction in the flat and cut a small corner across it. Once the brisket is covered in dark bark, that little marker will help you remember where slicing should begin.
For the full trimming process, photos, temperatures, and cooker instructions, use the main smoked brisket guide.
Tip 3: Save Useful Brisket Trimmings
The original article shouted this advice in all caps. We agree with the enthusiasm, but the trimmings need a plan. Keep clean meat and usable fat cold while you work, then refrigerate or freeze them promptly.
Make ground beef
Combine lean brisket pieces with enough clean fat to create your preferred blend. Chill the meat, fat, grinder parts, and bowl before grinding. Keep everything cold and cook ground beef to 160°F.
Render beef tallow
Cut clean fat into small pieces and render it gently until the liquid fat separates from the browned solids. Strain carefully into a clean heat-safe container, cool, cover, and refrigerate or freeze.
Save them for another meal
Use meaty pieces in chili, burgers, sausage blends, beans, or burnt ends when the shape and fat content make sense. Label frozen packages so “mystery beef block” does not become a family tradition.
Discard questionable trimmings. Bloody purge, dirty scraps, glands, discolored pieces, and fat contaminated during handling are not bonus ingredients. Keep raw beef cold, clean the equipment thoroughly, and avoid leaving trimmings at room temperature while the main brisket gets its makeover.
Tip 4: Keep the Seasoning Simple, or Experiment on Purpose
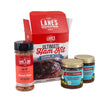
Salt, pepper, and garlic are brisket classics for a reason. A large cut needs a bold, even coating to build bark and season each slice. Lane’s Brisket Rub and Lane’s SPG Rub make that traditional profile easy.
The original article also encouraged experimentation, and that idea deserves to stay. Brisket can handle more than one personality:
- Cubano: A savory citrus-and-herb direction that still respects the beef.
- Q-NAMI: An umami-forward option for a deeper savory bark.
- Fiesta: A Southwestern turn that works especially well when the leftovers are headed toward tacos or nachos.
Apply the seasoning evenly to every face and edge, then give it time to adhere while the smoker comes to temperature. Watch rubs with substantial sugar during long cooks, especially near direct radiant heat. Dark bark is good. Burned sugar wearing a bark costume is less helpful.
Tip 5: Point the Fat Cap Toward the Heat
“Fat cap up” is often repeated as a universal rule, including in older Lane’s content. The more useful rule is to place the fat cap toward the strongest heat source so it acts as a protective layer.
- Heat mainly from below: Start with the fat cap down.
- Heat mainly from above: Start with the fat cap up.
- Heat from the side: Point the thicker point toward the hotter side and rotate the brisket only if the cooker needs it.
Learn where your smoker runs hot. A pellet grill, ceramic cooker, drum, and offset do not move heat in exactly the same way. The brisket does not care which direction won an internet argument. It cares where the heat is coming from.
Tip 6: Protect the Bark Before You Protect the Clock
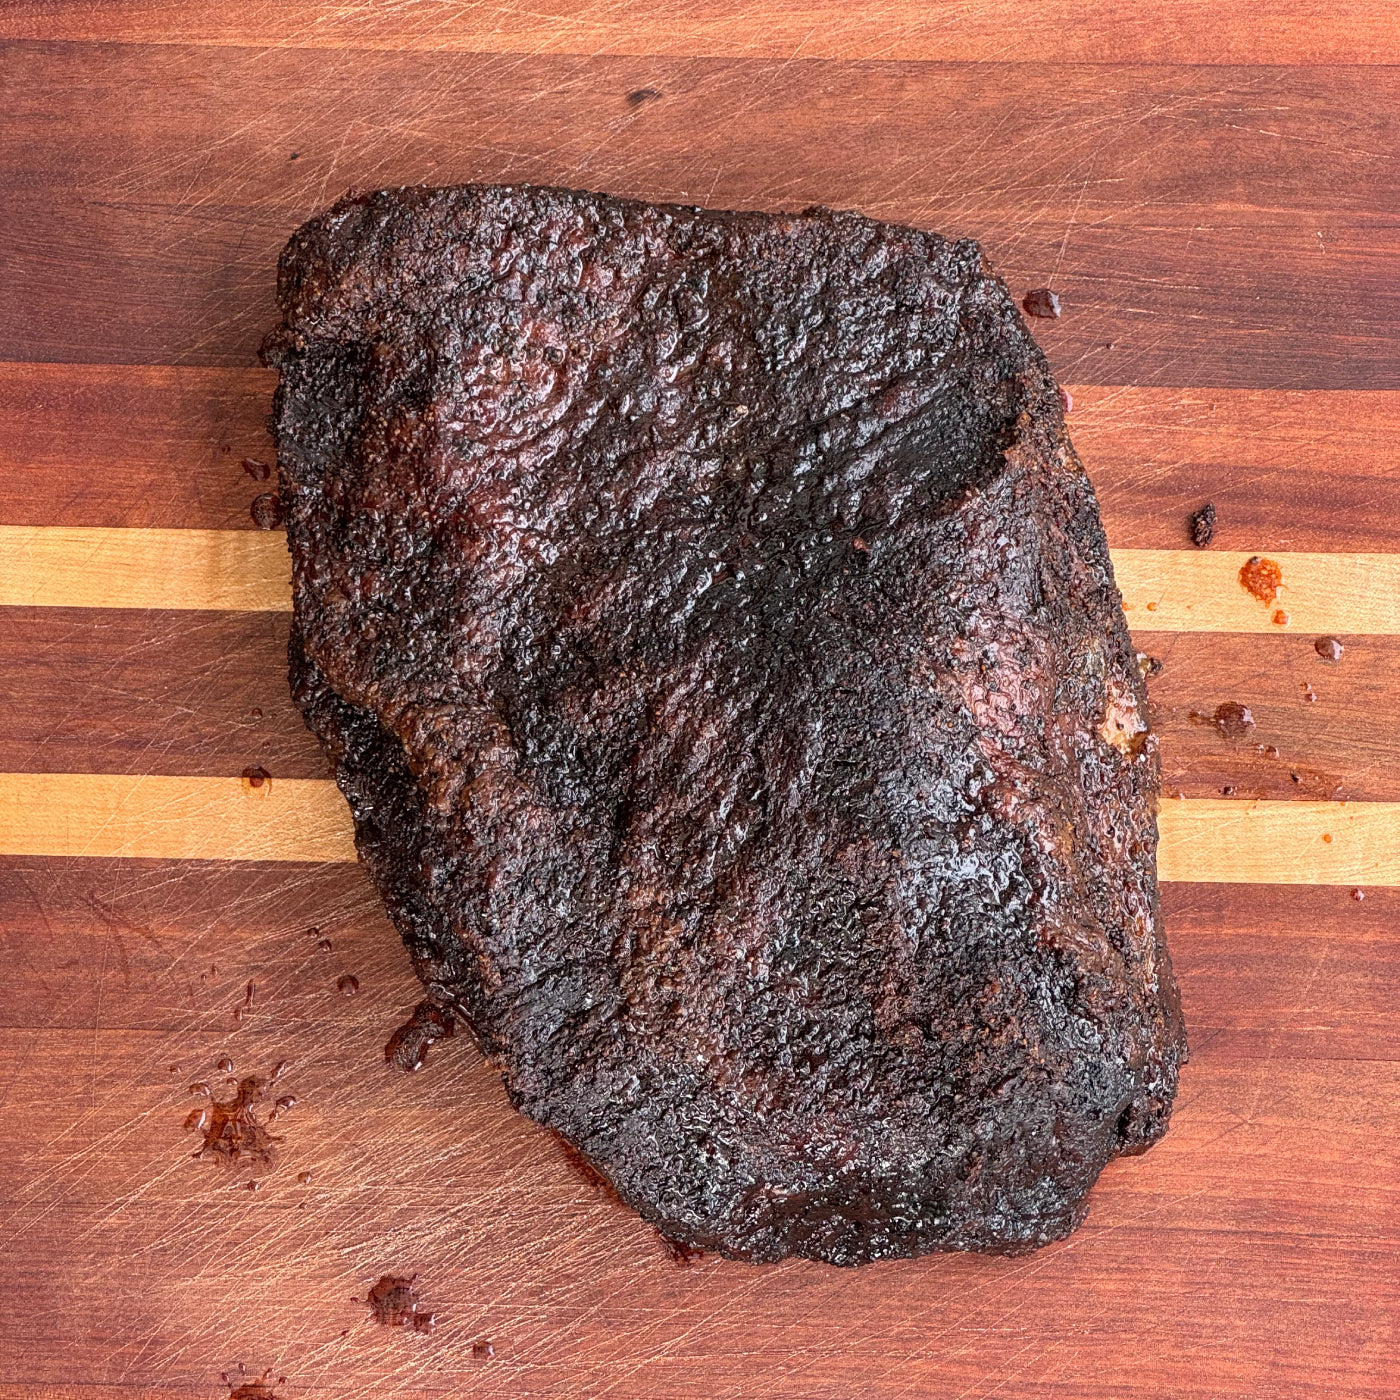
Good bark needs seasoning, smoke, airflow, heat, and time. The surface should become dark, dry, and firmly attached before you wrap. If the rub wipes away when touched lightly, the bark is not ready.
- Keep the lid closed. Every unnecessary peek changes temperature and airflow.
- Do not spritz automatically. Spritz only when the surface looks dry enough to need it. Soaking the brisket repeatedly cools the surface and can slow bark development.
- Avoid thick binders. A light binder is fine, but the brisket should not be wearing mustard body armor.
- Give pieces room. Crowding blocks airflow and creates pale, soft areas.
- Manage dirty smoke. Heavy white smoke can leave harsh flavors. Aim for a clean-burning fire and steady airflow.
If one edge darkens much faster, shield that area with a small piece of foil or rotate the brisket based on your cooker’s hot spot. Small corrections now beat brisket archaeology later.
Tip 7: Wrap When the Bark Is Set
Internal temperature tells you when to start paying attention, not when you are legally required to wrap. Many briskets are ready somewhere around 165–180°F, but bark color and texture should make the final decision.
Leave it unwrapped
This preserves the firmest bark and strongest smoke exposure, but the cook usually takes longer and the flat has more time to lose moisture.
Use butcher paper
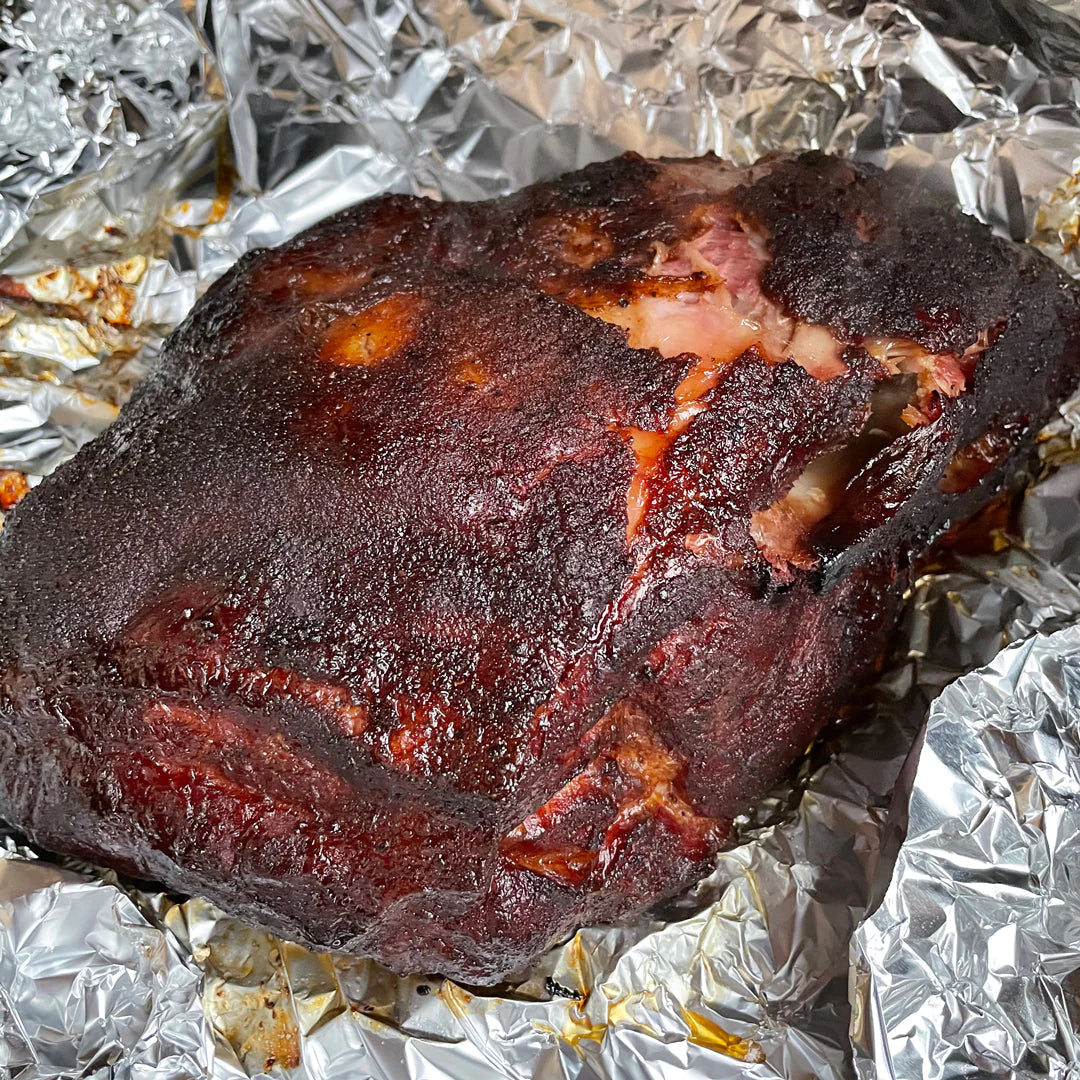
Paper reduces evaporation and moves the cook along while allowing some steam to escape. It generally protects bark better than foil.
Use foil
Foil traps moisture and pushes through the cook efficiently. It can soften the bark, but it is useful when timing or protecting the flat matters most.
Wrap tightly with as little trapped air as practical. Keep track of which side is the fat cap, and return the brisket to the cooker in the same heat-protective orientation.
Tip 8: Use Temperature to Find the Finish Line, Then Use Feel
This is one of the strongest ideas from the original article. Start checking the thickest part of the flat around 195°F. Many briskets finish somewhere near 195–205°F, but the exact number changes with the animal, cut, cooking temperature, and measurement location.
- Probe the flat - Insert an instant-read thermometer into several areas of the thickest part of the flat, avoiding the fat seam between the flat and point.
- Notice the resistance - The probe should slide in and out with very little resistance, often compared with softened butter or smooth peanut butter.
- Check more than one spot - One tender pocket does not mean the entire flat is ready.
- Use the point as supporting evidence - The fattier point often becomes tender before the leaner flat. Let the flat make the final decision.
- Stop cooking when it is ready - Continuing toward a favorite number after the flat is probe-tender can leave it dry and crumbly.
A brisket can be safely cooked long before it becomes barbecue-tender. The high finishing range is about rendering fat and softening connective tissue, not merely reaching a safe beef temperature.
Tip 9: Rest the Brisket Without Losing Temperature Control
The original article correctly treated resting as essential. Lane’s recommends at least a 2-hour rest for a full brisket. That time lets the temperature settle, allows carryover cooking to slow, and makes the brisket easier to slice without spilling as much moisture onto the board.
- Vent briefly if it is still cooking hard - Open the wrap for several minutes to stop aggressive carryover cooking, especially if the brisket finished near the top of its tenderness range.
- Rewrap tightly - Once excess heat has escaped, close the paper or foil securely.
- Hold it hot - Use an oven or warming setup capable of keeping the brisket at 140°F or above. Verify with a thermometer because many home ovens cycle inaccurately at low settings.
- Use a cooler for shorter rests - Preheat an insulated cooler with hot water, empty and dry it, then add the wrapped brisket and clean towels. Monitor the meat temperature rather than assuming the cooler remains safe indefinitely.
- Slice close to serving - Keep the brisket whole during the hold. Once sliced, it loses heat and moisture much faster.
Keep hot food hot. For an extended hold, maintain the brisket at 140°F or above. If it drops below 140°F, the standard two-hour limit outside safe temperature control applies. A towel-lined cooler is insulation, not a magical pause button.
Tip 10: Slice Only What You Are Serving
Even a beautifully cooked brisket can seem tough if it is sliced with the grain. The flat and point run in different directions, so the slicing direction must change when you move from one muscle to the other.
- Separate the point and flat or rotate the point about 90 degrees when the grain changes.
- Slice the flat across the grain about pencil thickness.
- Cut the fattier point slightly thicker or cube it for burnt ends.
- Use long, smooth knife strokes instead of sawing the bark into confetti.
- Slice only what the table needs and keep the remainder intact.
Our How to Slice a Brisket guide walks through the grain change and serving process in detail.
Brisket Rescue Tips
The flat is getting too dark
Shield the dark area with foil, move it away from the hottest zone, or wrap once the bark is properly set. Check whether the cooker is delivering strong radiant heat from below or one side.
The bark is soft after wrapping
Open the wrap near the end and return the brisket to the smoker for a short period to reset the bark. Watch closely so the flat does not dry out.
The brisket is cooking too fast
Confirm the grate-level temperature with a reliable thermometer. Lower the pit temperature, shield the brisket from radiant heat, and begin checking tenderness earlier.
The brisket is behind schedule
Wrap tightly in foil and raise the cooker temperature moderately. Once wrapped, the brisket gains little additional smoke flavor, so finishing in the oven is perfectly reasonable.
The flat feels dry
Slice it only as needed and serve with warm reserved juices, unsalted beef stock, or a small amount of tallow. Do not drown the bark trying to erase history.
The slices crumble
The flat may be overcooked, sliced too hot, or cut too thin. Let it cool slightly, cut thicker slices, and repurpose broken pieces for sandwiches, tacos, chili, or beans.
The Brisket Rules Worth Remembering
- Trim cold and save only clean, useful trimmings.
- Season the edges as carefully as the broad surfaces.
- Point the fat cap toward the strongest heat.
- Wrap when the bark is ready, not just when the thermometer beeps.
- Let the flat decide when the brisket is probe-tender.
- Finish early enough to rest and hold the brisket safely.
- Slice across the grain and only as much as you need.
Most brisket “hacks” are really ways to avoid rushing. Give the cook enough time, pay attention to what the surface and probe are telling you, and make small corrections before small problems become expensive sandwiches.
FAQs — Brisket Tips and Hacks
Should brisket be cooked fat side up or down?
Point the fat cap toward the strongest heat source. If heat comes mainly from below, cook fat side down. If it comes mainly from above, cook fat side up. The fat helps shield the meat from intense radiant heat.
What temperature should I wrap a brisket?
Many briskets are ready to wrap around 165–180°F, but wrap when the bark is dark, dry, and firmly set. Temperature tells you when to start checking; the bark makes the final decision.
Is butcher paper or foil better for brisket?
Butcher paper allows some steam to escape and generally protects bark better. Foil cooks faster and retains more moisture but can soften the bark. Choose based on your timing and preferred texture.
How do I know when brisket is done?
Begin checking the thickest part of the flat around 195°F. The probe should slide into several areas with very little resistance. Tenderness matters more than reaching one exact finishing temperature.
How long should brisket rest?
Lane’s recommends resting a full brisket for at least about 2 hours. For an extended hold, use a temperature-controlled setup that maintains the brisket at 140°F or above.
Can I finish a wrapped brisket in the oven?
Yes. Once the brisket is wrapped, it receives very little additional smoke. A steady oven can finish the cook without hurting the brisket and may provide more reliable temperature control.
Should I spritz brisket while it smokes?
Spritz only when the surface looks dry enough to need it. Repeatedly soaking the brisket cools the surface and can slow bark development. Do not spritz simply because a timer says so.
What can I do with brisket trimmings?
Clean meaty trimmings can be chilled and ground for burgers or saved for chili and beans. Clean hard fat can be rendered into beef tallow. Keep all raw trimmings cold and discard questionable pieces.
Why did my brisket slices crumble?
The brisket may be overcooked, sliced while too hot, or cut too thin. Let it cool slightly and cut thicker slices. Crumbled brisket still works well in sandwiches, tacos, chili, beans, and nachos.


Leave a comment
All comments are moderated before being published.
This site is protected by hCaptcha and the hCaptcha Privacy Policy and Terms of Service apply.