







Dry Brining: The Simple Secret to Better Meat
Dry brining is one of the easiest ways to build deeper flavor, improve tenderness, and help meat stay juicy during cooking—all with salt, time, and a little refrigerator space.
It works on everything from steaks and pork chops to whole chickens, turkey, and large roasts. There is no bucket of liquid to mix, no oversized container to store, and very little hands-on work. Salt the meat, let it rest, and give time a chance to do the heavy lifting.
What You'll Need
What Is Dry Brining?
Dry brining is a popular technique used by many backyard grill masters and professional chefs to enhance the flavor and juiciness of meat before cooking it. Unlike a wet brine that submerges meat in a saltwater solution, dry brining relies on salt to work its magic.
You may also hear it called dry salting. The process is straightforward: apply salt evenly to the meat, place it in the refrigerator, and let it rest uncovered. Depending on the size and thickness of the cut, that rest may last a few hours or a couple of days.
Dry brining is not the same as simply seasoning right before cooking. The resting time gives the salt a chance to move beyond the surface and season the meat more deeply.
How Does Dry Brining Work?
Dry brining involves evenly coating the surface of the meat with salt and then letting it rest in the refrigerator uncovered for several hours or up to a couple of days. As the salt draws moisture out of the meat, it dissolves into a highly concentrated brine on the surface. That seasoned moisture is then reabsorbed deeper into the meat.
This allows the salt to season beyond the exterior while changing some of the meat's proteins so they hold onto moisture more effectively during cooking. The result can be a better-seasoned, more tender, and juicier finished product.
Salt Draws Out Moisture
Moisture begins moving to the surface after the salt is applied.
A Concentrated Brine Forms
The salt dissolves in that surface moisture and creates its own brining liquid.
The Brine Moves Back In
The seasoned liquid is gradually reabsorbed, carrying flavor beneath the surface.
The uncovered refrigerator rest also helps dry the exterior. That can improve browning on steaks and roasts and help poultry skin become crisper during roasting, grilling, or smoking.
Benefits of Dry Brining
There are several advantages to dry brining over wet brining or cooking without any advance seasoning:
Enhances Flavor
Dry brining seasons the meat more deeply for a more pronounced savory taste. The salt moves beyond the surface instead of flavoring only the crust.
Improves Tenderness
Salt changes some of the meat's proteins, helping create a more tender texture when the meat is cooked properly.
Helps Maintain Juiciness
The changes caused by salt help the meat retain more moisture as it cooks.
Keeps Flavor Concentrated
Unlike wet brining, the meat does not absorb additional water, so its natural flavor remains concentrated.
Encourages Better Browning
The uncovered refrigerator rest dries the surface, which can help steaks sear more effectively and poultry skin cook more crisply.
Simple and Convenient
There is no liquid brine to prepare or large container to store. Season the meat in advance, refrigerate it, and cook when ready.
How Much Salt Should You Use?
The right amount depends on the type of salt, the size of its crystals, and the weight of the meat. Coarse kosher salt or flaky sea salt is easier to distribute evenly than fine table salt.
A reliable starting point: use approximately ¾ to 1 teaspoon of coarse kosher salt per pound of meat. For greater accuracy, weigh the salt and use roughly 0.75% to 1% of the meat's weight.
Different salt brands can have very different crystal sizes, which means the same teaspoon may contain a different amount of salt. When changing brands or switching from coarse salt to a fine salt, use less by volume or measure by weight.
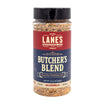
At the basic level, we recommend our Lane's Kosher Pretzel Salt. Its coarse texture makes it easy to see where you have seasoned and helps it cling to the surface.
Check the label before dry brining enhanced meat. Poultry or pork labeled as containing a salt solution, broth, or added water may already be seasoned. Adding a full dry brine can make it overly salty.
How Long Should You Dry Brine?
Thicker cuts need more time because the salt has farther to travel. A few hours can still improve the surface seasoning, but overnight is often the sweet spot for steaks, chops, and poultry pieces.
| Meat or Cut | Recommended Dry-Brining Time |
|---|---|
| Thin steaks or pork chops | 4–8 hours |
| Thick steaks or pork chops | 8–24 hours |
| Chicken breasts, thighs, or wings | 8–24 hours |
| Whole chicken | 12–24 hours |
| Turkey breast | 12–24 hours |
| Whole turkey | 24–48 hours |
| Pork loin or beef roast | 12–24 hours |
| Large roasts | 24–48 hours |
These times are practical starting points, not rigid deadlines. A thicker cut generally benefits from more time, while smaller or thinner cuts need less. Keep the meat refrigerated throughout the entire process.
How to Dry Brine Meat
Dry brining requires only a few easy steps:
- Pat the meat dry. Remove excess surface moisture with paper towels so the salt can be distributed evenly.
- Measure the salt. Use the meat's weight as your guide rather than covering it blindly. Coarse kosher salt or flaky sea salt is easiest to apply evenly.
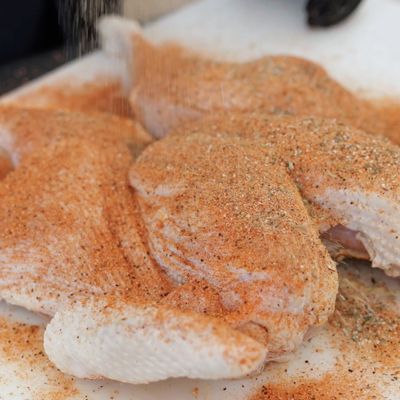
- Season every exposed surface. Sprinkle the salt from several inches above the meat so it falls in a more even layer. For poultry, season beneath the skin where practical as well as over the exterior.
- Place the meat on a wire rack. Set the rack over a rimmed baking sheet. This catches moisture and allows air to circulate around the meat.
- Refrigerate uncovered. Let the meat rest for at least 4 hours and up to 48 hours for most home applications. Thicker cuts require more time than thin cuts.
- Do not automatically rinse. When the proper amount of salt has been used, rinsing is usually unnecessary and can work against the dry surface you created. If you visibly applied far too much salt, brush away or lightly blot the excess instead.
- Add the remaining seasoning carefully. Use a salt-free seasoning or reduce the amount of a salty rub so you do not double-season the meat.
- Cook as desired. Grill, smoke, roast, or sear the meat using the cooking method appropriate for the cut.
For the best browning: keep the meat uncovered during the refrigerator rest and avoid adding a wet binder until you are ready to cook.
What Can You Dry Brine?
With its simplicity and outstanding results, dry brining is a useful technique for steaks, roasts, chops, and poultry. It is especially valuable for cuts that benefit from deeper seasoning or a drier exterior before cooking.
Steaks
Dry brining helps season thick steaks throughout and creates a drier surface for a stronger sear.
Pork Chops and Pork Loin
Lean pork can benefit from deeper seasoning and improved moisture retention.
Whole Chicken
Season beneath and over the skin, then refrigerate uncovered for flavorful meat and crispier skin.
Turkey
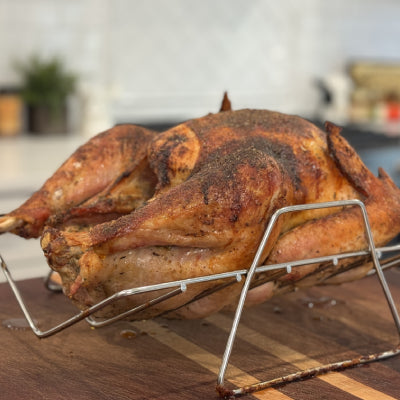
A 24–48 hour dry brine is a space-saving alternative to soaking a large bird in liquid.
Beef and Pork Roasts
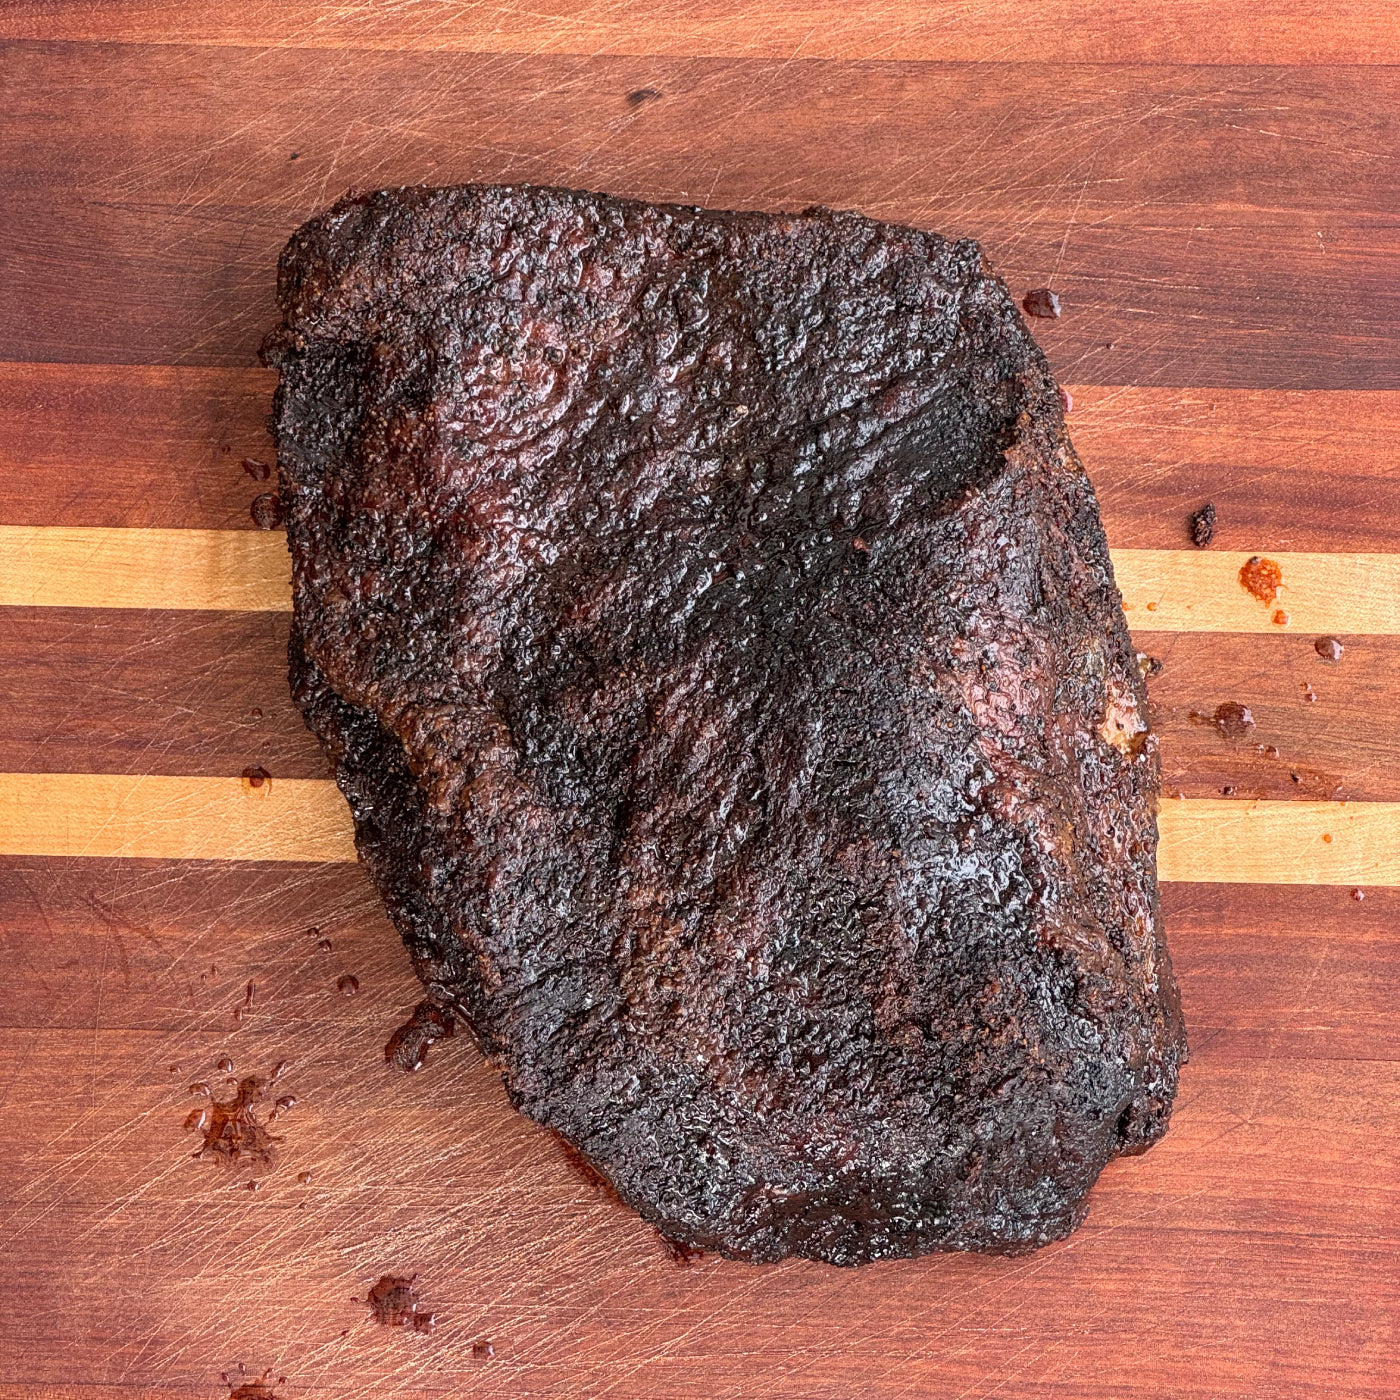
Large cuts benefit from advance seasoning because salt needs time to move below the surface.
Chicken Pieces
Breasts, thighs, drumsticks, and wings can all be seasoned the night before cooking.
Dry Brining vs. Wet Brining
Both methods use salt to season meat and help it retain moisture, but they fit different situations.
Best for Flavor and Browning
Dry brining requires less refrigerator space, keeps the meat's natural flavor concentrated, and helps dry the exterior for better browning or crispier poultry skin.
Best for Added Moisture and Flavor
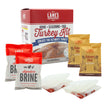
Wet brining surrounds the meat with a seasoned liquid and is useful when you want to introduce additional flavors from sugar, herbs, spices, citrus, or a prepared brine blend.
Neither method is automatically better in every situation. Use a dry brine when refrigerator space and crisp skin matter most. Use a wet brine when you want the flavors of a complete brine mixture or are following a recipe designed around one.
Common Dry-Brining Mistakes
More is not always better. Measure based on the weight of the meat, especially when dry brining for a full day or longer.
Fine salt packs more densely into a spoon than coarse kosher salt. A direct volume-for-volume swap can over-season the meat.
Many barbecue rubs already contain salt. After dry brining, choose a salt-free seasoning or apply a salty rub more lightly.
Covering traps moisture against the surface. Leaving the meat uncovered helps create the dry exterior that improves browning.
Salting immediately before cooking seasons the surface, but it does not give the full dry-brining process time to work.
Enhanced, injected, or solution-added meat may already contain salt. Read the packaging before adding more.
Dry Brining FAQs
Do I need to rinse meat after dry brining?
Usually, no. If you measured the salt correctly, leave it in place and cook the meat as directed. Rinsing adds moisture back to the exterior and can reduce browning. Brush away any obvious excess if too much was applied.
Can I add a barbecue rub after dry brining?
Yes, but check how much salt the rub contains. A salt-free rub is the safest choice. If the rub already contains salt, apply it more lightly so the meat does not become overly salty.
Can I dry brine frozen meat?
For the most even results, thaw the meat first. Salt cannot be distributed properly over a heavily frozen surface, and the timing is harder to control while the meat is still thawing.
Can I dry brine for only one or two hours?
You can, but the result will be closer to advance seasoning than a full dry brine. Four hours is a more useful minimum, while overnight generally produces better results for most steaks, chops, and poultry.
Is dry brining safe uncovered in the refrigerator?
Yes, when the meat is kept properly refrigerated on a clean rack and rimmed sheet pan. Place it where raw juices cannot drip onto other foods.
Can I dry brine a turkey?
Yes. Dry brining is a useful alternative when you do not have room for a large container of liquid. Season the turkey evenly, refrigerate it uncovered for 24–48 hours, and confirm the bird is not already enhanced or injected with a salt solution.
Is dry brining the same as curing?
No. Dry brining is a short-term seasoning technique used before normal cooking. Curing uses specific salt concentrations, longer timelines, and sometimes curing salts to preserve food or create products such as bacon and ham.
Ready to Try Dry Brining?
Start with a steak, pork chop, whole chicken, or turkey and give the salt enough time to work. For an easy-to-apply coarse salt, use Lane's Kosher Pretzel Salt.


1 comment
AW
Good recipe. FYI – Table salt and kosher salt have the same chemical formula. So table salt is not ‘saltier’. It might have iodine as an additive, which is needed for hormones to function, amongst other beneficial things.
Leave a comment
All comments are moderated before being published.
This site is protected by hCaptcha and the hCaptcha Privacy Policy and Terms of Service apply.